
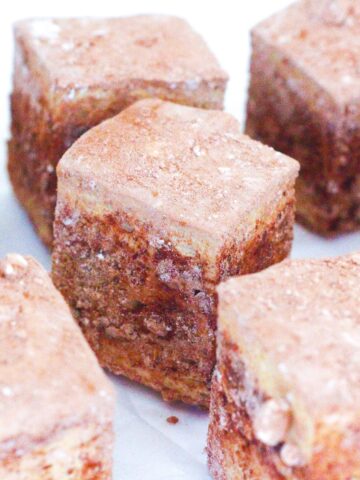
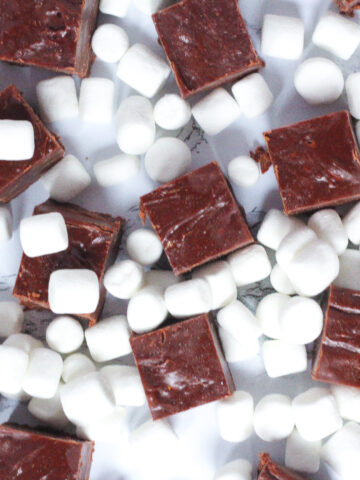
I love to make marshmallows from scratch. They seem like they would be challenging to make, but they're surprisingly easy and they taste so much better than store-bought. Plus, when you make them from scratch, you can make them all sorts of fun flavors, like these Homemade Chocolate Marshmallows! They're so rich and fudgy, and just melt in your mouth, you must try them for yourself!
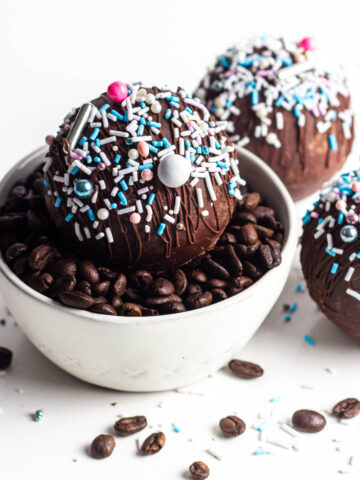
Chocolate Marshmallows make the best gifts, a delicious stocking stuffer, and a fun addition to your Easter baskets and Christmas cookie boxes! If you love homemade marshmallows, check out these Coffee Marshmallows, Birthday Marshmallows, and Caramel Marshmallows! These Mini Egg Cookies would also be great in your Easter baskets and Christmas cookie boxes!
Why this Recipe Works
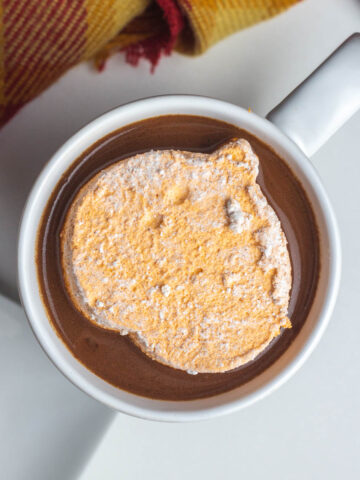
Marshmallows are super versatile and really take on whatever flavor you give them. That allows the rich chocolate flavor to really shine through in these Homemade Chocolate Marshmallows. They're the perfect combination of feeling fancy while being easier than you would think! They are divine in hot cocoa or coffee, make extra-chocolatey s'mores, can elevate any dessert from ice cream to cookies to cupcakes, and they are irresistible all on their own!
Ingredients and Notes

Cocoa Powder - Cocoa powder is used in the soft, powdery marshmallow coating, as well as mixed into the marshmallow itself giving these homemade Chocolate Marshmallows a rich and deep chocolate flavor. This should be unsweetened cocoa powder from the baking section of the store, not the powder used to make hot cocoa that's often in the coffee and tea section. Dutch process and natural cocoa powder should both work here.
Gelatin - Gelatin gives the marshmallows both structure and texture. This allows the Chocolate Marshmallows to hold their shape while remaining light and fluffy. Be sure to use unflavored gelatin, not Jell-o or a flavored gelatin.
Espresso Powder - Espresso powder does not give these Chocolate Marshmallows a coffee flavor, but rather is used to enhance and deepen the chocolate flavor. It can be skipped, but I highly recommend using it if you have it! For a stronger espresso flavor, consider trying Coffee Marshmallows.
Substitutions and Variations
Corn Syrup - I tend to use light corn syrup because that's what I keep on hand, but dark corn syrup could add an extra layer of deliciousness as well!
Espresso Powder - Add an additional 2-3 tablespoons of espresso powder for a mocha marshmallow flavor.
Cocoa Powder - Using black cocoa can give these Chocolate Marshmallows an extra dark, Oreo-like effect. This could make for a fun coal-like stocking stuffer!
How to Make this Recipe

Step 1: Combine one cup of hot water with ½ cup of cocoa powder and espresso powder, and stir until dissolved. Set aside.

Step 2: Combine powdered sugar, cornstarch, and ¼ cup of cocoa powder in a small bowl. Dust a parchment lined 8x8 pan with about half of the powdered sugar mixture. Set the remaining mixture aside.

Step 3: In the bowl of a stand mixer with the whisk attached, add the gelatin and 1 cup lukewarm water. Do not stir.

Step 4: In a medium to large saucepan, combine the chocolate and espresso mixture, sugar, and corn syrup. Heat over medium heat covered for 5 minutes, then remove cover and continue heating with a candy thermometer attached to the edge of the pot, stirring often, until the temperature of the mixture reaches 240°F.

Step 5: Start the mixer on the lowest possible speed and slowly stream in the hot mixture. Once the hot mixture is fully added, slowly increase the speed being careful to avoid splatter. Once the mixer is at full speed, beat for 10 minutes.

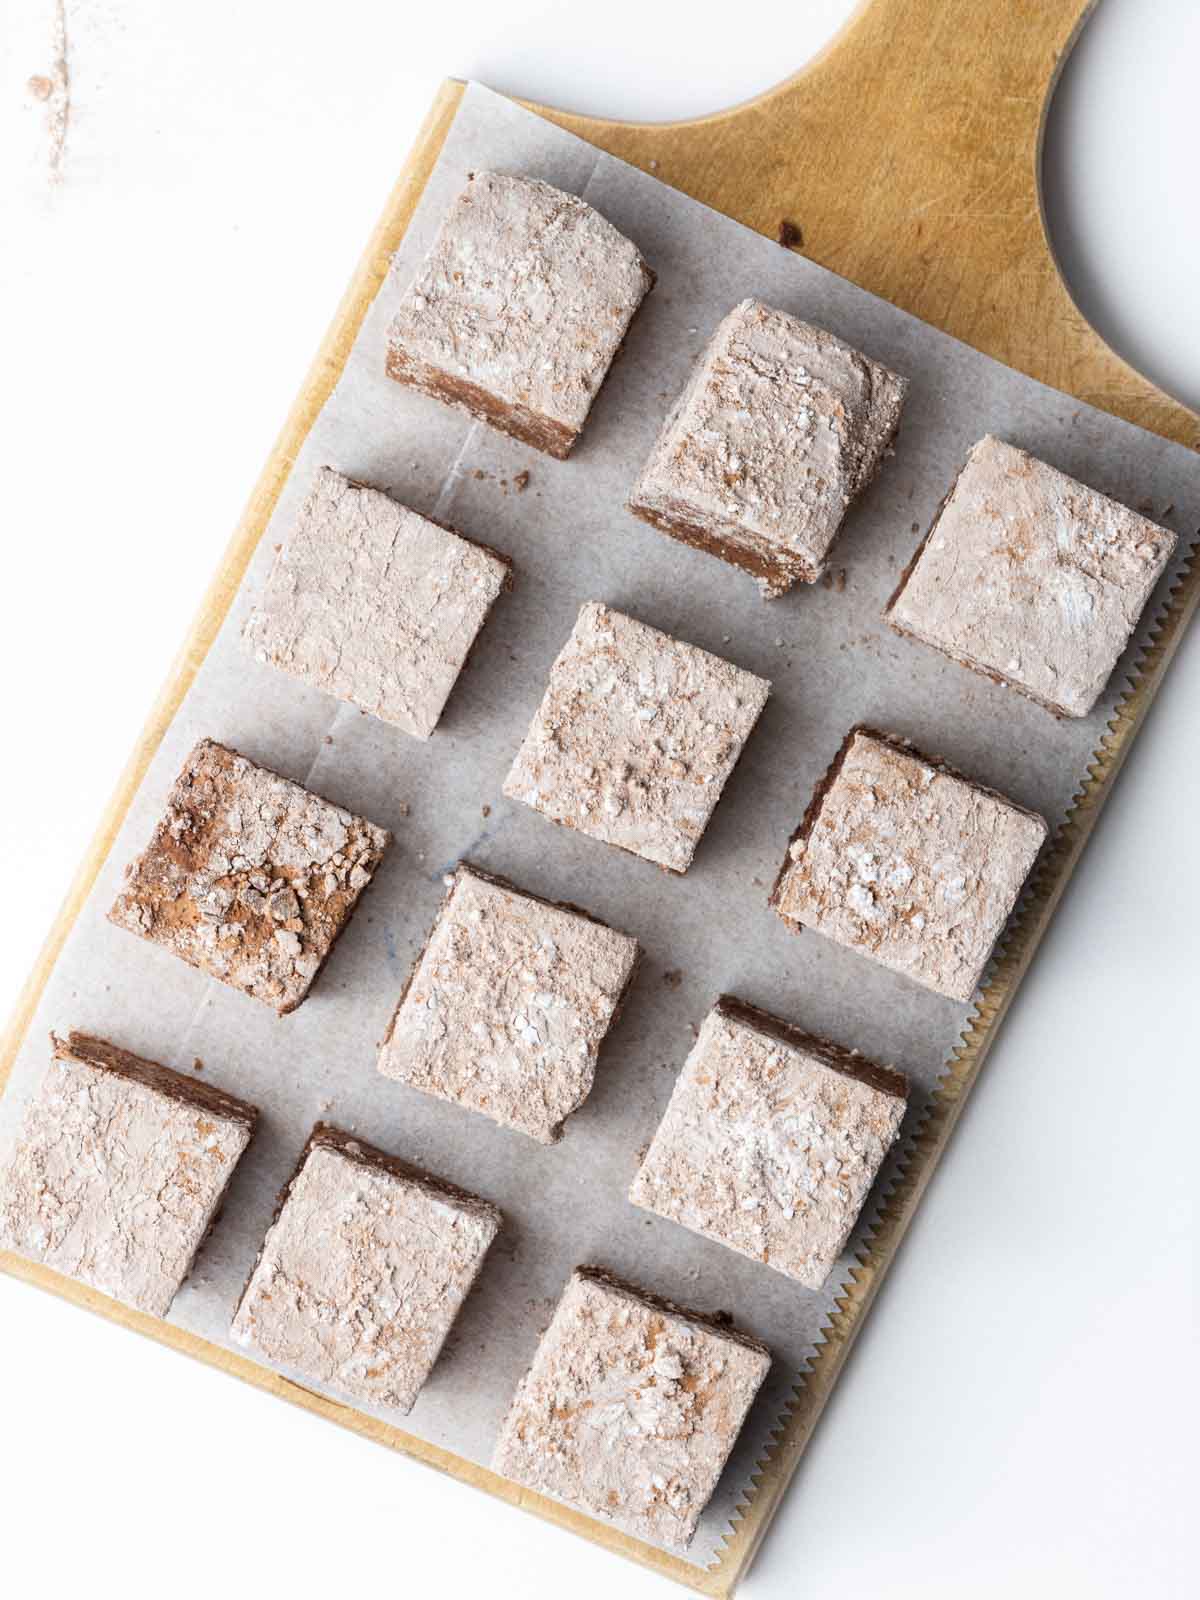
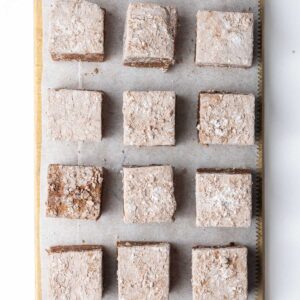
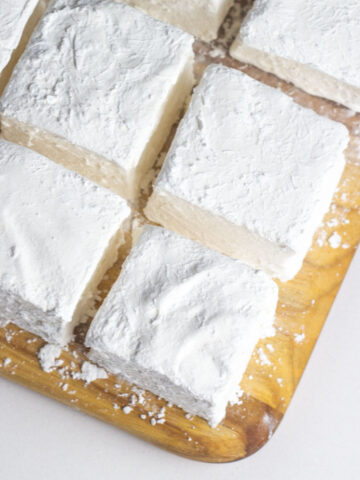
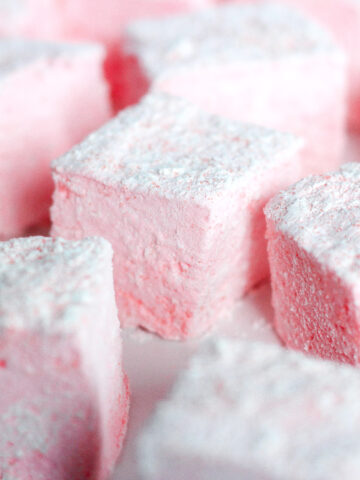
Step 6: Pour the mixture into the prepared pan, cover with the remaining powdered sugar mixture, and let set at least 4 hours or overnight. Cut into squares or shapes of your choice and enjoy!
Recipe FAQs
In order to ensure your marshmallows set properly and are not too runny, you'll want to ensure you're using the correct measurements of ingredients. Adjusting the amounts will impact the texture of the marshmallow. Additionally, it's important that the hot mixture is heated to 240°F and that the marshmallow mixture is whipped in the mixer for long enough.
Wiping the knife clean between each cut should help ensure nice, clean cuts. These Chocolate Marshmallows are not overly sticky so it shouldn't be an issue, but if they are sticking to the knife, lightly spray a paper towel with non-stick spray and wipe a very light coating onto the knife.
This should work fine as long as the mix-ins are small. You'll want to use mini chocolate chips, or finely chopped or crushed nuts. Just before the mixture gets poured into the prepared pan, gently fold in the mix-ins. Then pour into the pan and let set.

Tips & Tricks
Tip #1: The cocoa powder is mixed with the hot water before adding it to the marshmallow mixture to ensure it incorporates smoothly. There are two ways to do this. One is to dissolve the cocoa powder in a hot liquid. This is what is done for hot cocoa. The other is to bloom the cocoa powder by mixing it with a smaller amount of water to create more of a paste. Blooming cocoa powder brings out a richer chocolate flavor. In this Chocolate Marshmallows recipe we go right in between dissolving and blooming the cocoa, creating a thicker liquid that's not quite a paste. This helps give the marshmallows their light, soft, and fluffy texture while also enhancing the rich and intense chocolate flavor.
Tip #2: For a fudgier texture and flavor, reduce the amount of water added to the gelatin from 1 cup to a half cup. This will result in a thinner marshmallow, but it will have a richer and fudgier texture and flavor.
Tip #3: Using a bigger pot so that the mixture is not as deep in the pot will allow the mixture to reach 240°F more quickly. The mixture will expand in size, but will reduce again when you stir. Depending on the size of pot you use, you may need to stir more frequently to prevent overflowing.
Tip #4: Be patient! The process of heating the corn syrup mixture can take some time, but you want to be sure to wait until the thermometer reaches 240°F which is also called the soft-ball stage. If the temperature is below 240°F you could end up with a soft, sticky marshmallow that doesn't set. If it's above, your homemade Chocolate Marshmallows will come out too firm.
Tip #5: Using cookie cutters to cut Chocolate Marshmallows into shapes for holidays adds some extra fun! Bunnies for Easter, hearts for Valentine's Day, trees for Christmas, or dreidels for Hanukkah. They can also be put on a stick like a marshmallow lollipop and wrapped up as gifts, perfect for stirring into hot cocoa!
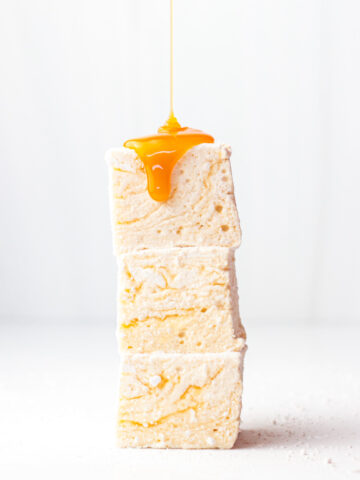
Tip #6: For extra chocolatey goodness, once the Chocolate Marshmallows are set you can drizzle them with chocolate ganache or make them into Chocolate Covered Marshmallows. Sprinkles can also add a pop of fun or try mini chocolate chips for an added pop of chocolate!
Storage Tips
- Chocolate Marshmallows can be stored in an airtight container at room temperature for about a week.
- A well-sealed glass or plastic container will keep the marshmallows better than a zip-top bag.
- Homemade Chocolate Marshmallows should not be stored in the refrigerator or freezer.
Related Recipes
Did you try this recipe? Leave a review below, and tag @flourdeliz on Instagram!
📖 Recipe
Chocolate Marshmallows
Equipment
- stand mixer with whisk attachment
- medium saucepan
- 8x8 pan
Ingredients
Coating
- ½ cup powdered sugar
- ¼ cup cornstarch
- ¼ cup cocoa powder
Marshmallows
- 1 cup hot water
- ½ cup cocoa powder
- 1 tablespoon espresso powder
- 1 cup lukewarm water
- 2 ½ tablespoons unflavored gelatin three packets
- 1 ½ cup sugar
- ½ cup corn syrup
Instructions
- Combine hot water, the ½ cup cocoa powder for the marshmallows, and espresso powder. Stir until dissolved. Set aside.1 cup hot water, ½ cup cocoa powder, 1 tablespoon espresso powder
- Line an 8x8 baking pan with parchment paper. Combine the powdered sugar, cornstarch, and cocoa powder in a small bowl. Dust about half the mixture over the bottom of the pan, and on the sides if possible. Set the rest aside.½ cup powdered sugar, ¼ cup cornstarch, ¼ cup cocoa powder
- In the bowl of a stand mixer with the whisk attached add the gelatin and lukewarm water, and set aside. (Do not stir.)1 cup lukewarm water, 2 ½ tablespoons unflavored gelatin
- In a medium to large saucepan, combine the chocolate espresso mixture, sugar, and corn syrup and stir.1 ½ cup sugar, ½ cup corn syrup
- Cover and heat the mixture over medium heat for 5 minutes, then remove the lid and attach a candy thermometer. Continue heating until the mixture reaches 240℉, stirring frequently. Remove from heat.
- Start the mixer on the lowest possible speed and slowly stream in the hot mixture.
- Once all of the hot mixture is added, slowly increase your mixer speed (carefully to avoid splatter!) Once the mixer is up to full speed, beat for 10-12 minutes.
- Pour the marshmallow mixture into the prepared pan, dust the top with the remainder of the powdered sugar mixture and let set for at least 4 hours or overnight.
- Cut into cubes or shapes as desired, and enjoy!
Notes
Nutrition
Nutrition information is automatically calculated so should only be used as an estimate. Accuracy is not guaranteed.
Comments
No Comments