
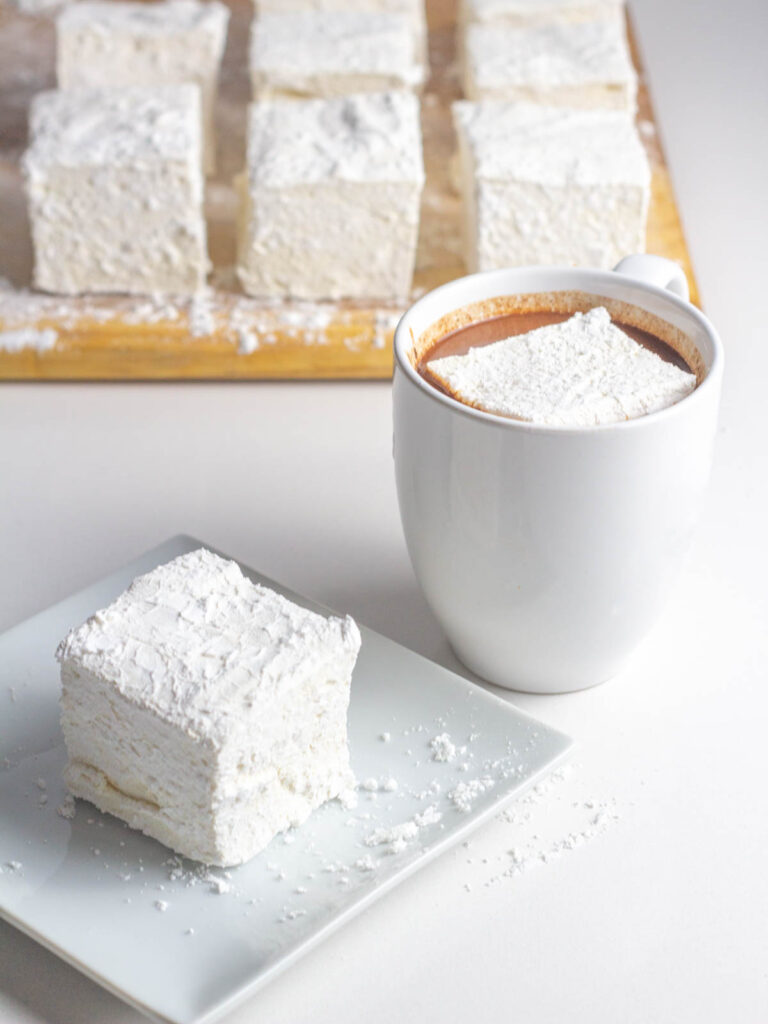
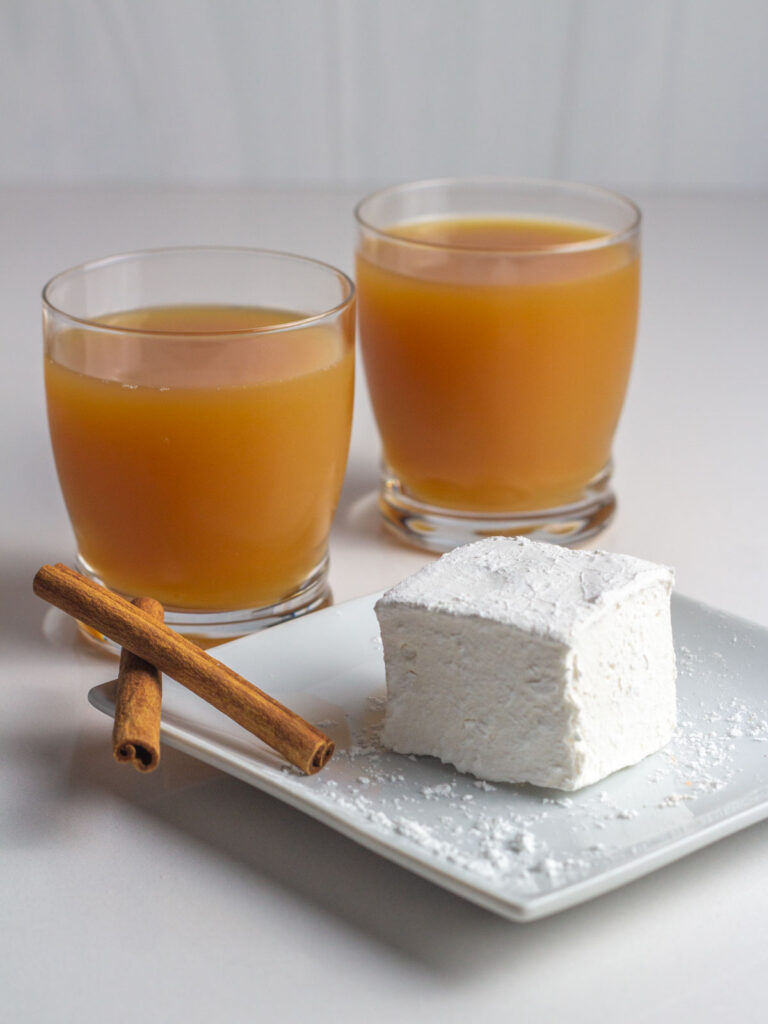
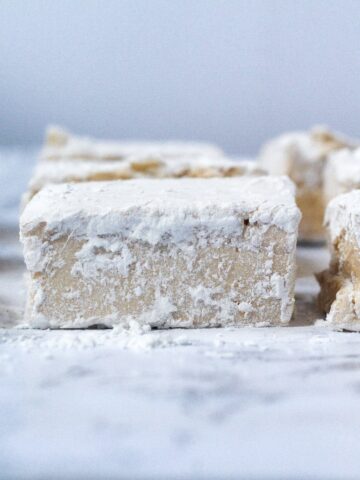
Homemade marshmallows are surprisingly easy to make! Making marshmallows from scratch is how you can find yourself eating a perfectly spiced and delicious Apple Cider Marshmallow. Don't let the time it takes to make marshmallows fool you - this is a very low effort recipe!
These apple marshmallows make the best back to school gift or sweet fall treat! If you love apple cider recipes, you'll love these Apple Cider Cupcakes or these Apple Pop Tarts with Caramel Apple Cider Glaze.
Why this Recipe Works
Apple cider brings a perfect balance of spice to the sweetness of the marshmallows making this an ideal marshmallow flavor.
Ingredients and Notes
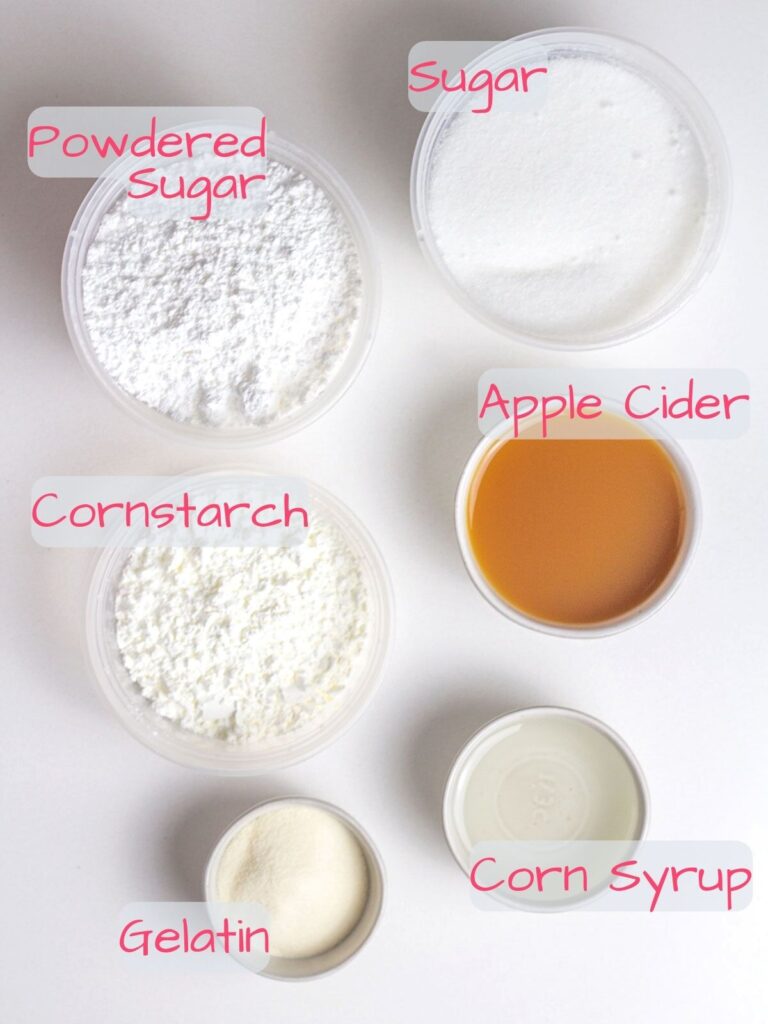
Apple Cider - The apple cider is both the liquid for the marshmallow as well as the flavor. Liquid is needed to bloom the gelatin (see Tips & Tricks) and to offset the stickiness of the corn syrup, making the apple marshmallows soft and cloud-like. Use leftover apple cider to make a from-scratch apple filling and a cinnamon apple cider glaze in these Homemade Apple Pop Tarts!
Gelatin - Gelatin gives homemade marshmallows their shape and texture.
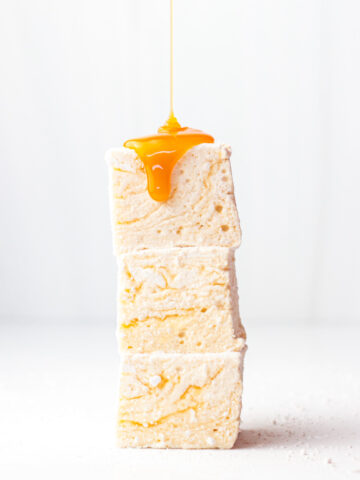
Corn Syrup - Corn syrup is what gives you those epic marshmallow pulls. In addition to giving your marshmallow that ooey gooey sticky texture, corn syrup also adds sweetness.
Substitutions
Apple Cider - Both homemade and store-bought cider will work for this fall-flavored dessert recipe, or for a fun twist, hard cider can be used as well!
Corn Syrup - I use light corn syrup for these Apple Cider Marshmallows, but dark corn syrup could add some richness to the flavor.
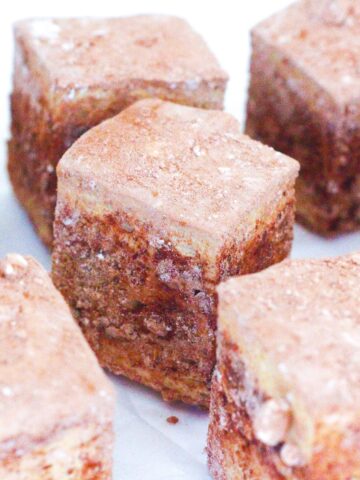
Spices - To enhance the spice in these homemade marshmallows, you can add additional apple cider spices to the apple marshmallows. Traditionally, apple cider is spiced with cinnamon, cloves, allspice, and nutmeg. Adjust the spices to get the flavor that you love most.
Spices can be added to the marshmallow mixture for the last 1-2 minutes of running the mixer, and can also be added to the powdered sugar and cornstarch coating, however be cautious with how much you add to the coating - the flavor will be strong!
How to Make this Recipe
Step 1: Combine the cornstarch and powdered sugar in a small bowl. Line an 8x8 baking pan with parchment paper and dust a light coating of half the mixture onto the bottom and sides of the lined pan.
Step 2: Place the gelatin and first cup of apple cider in the bowl of a stand mixer and set aside.
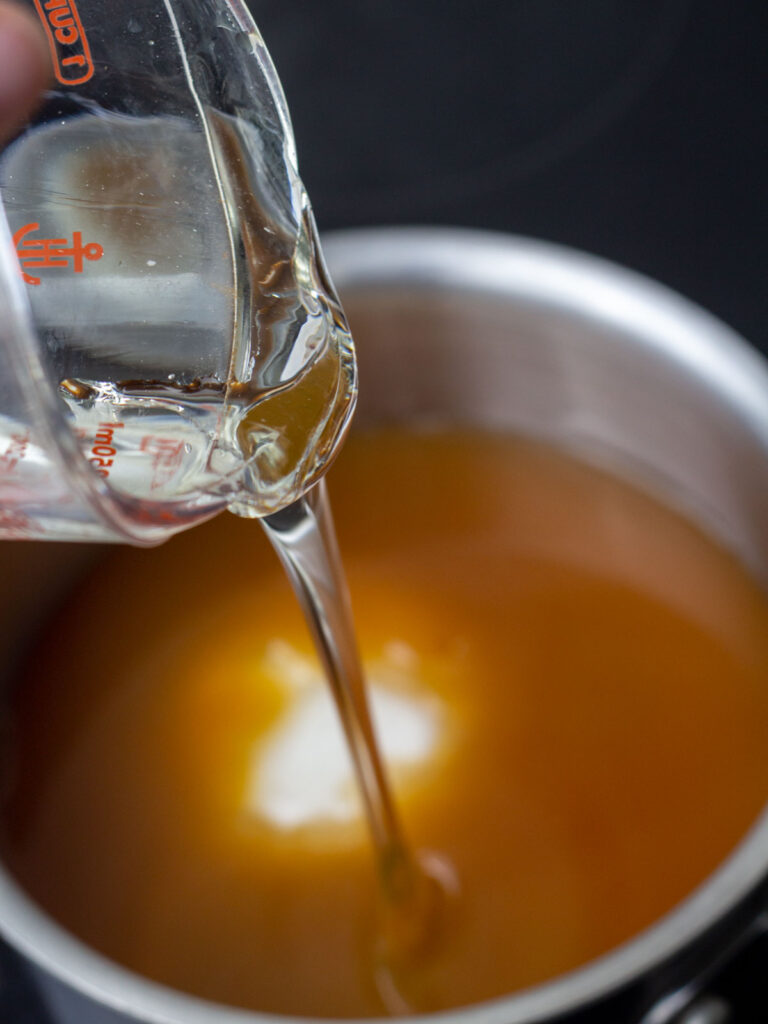
Step 3: In a medium saucepan, combine the second cup of apple cider, granulated sugar, and corn syrup. Heat covered for about 5 minutes.
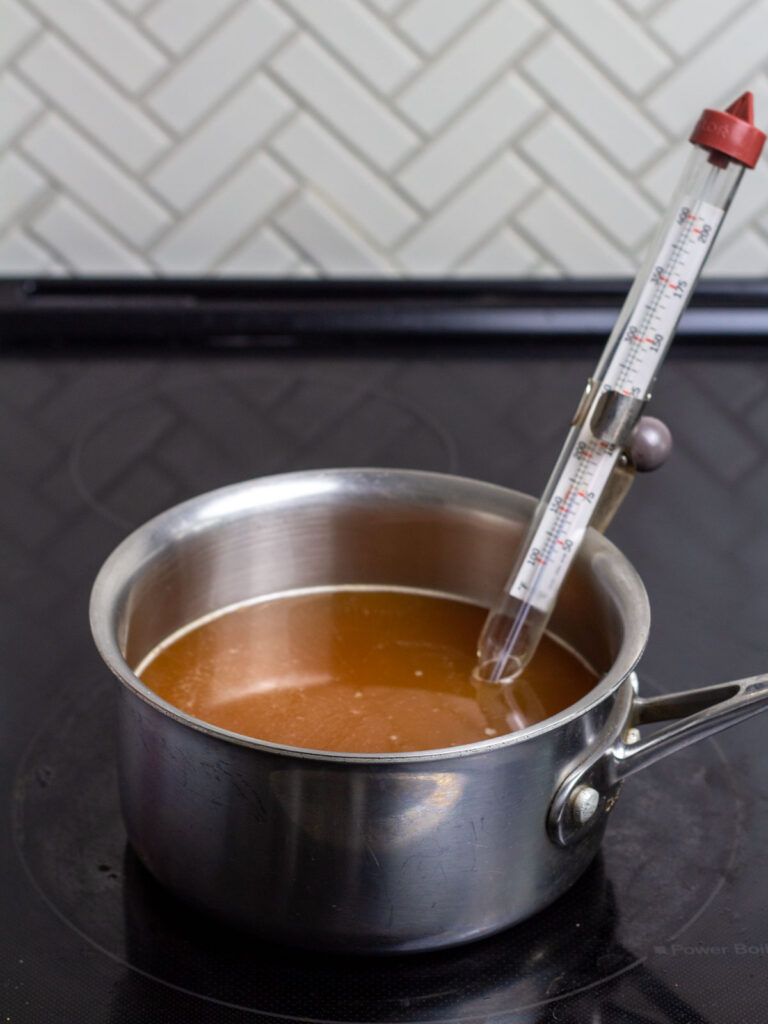
Step 4: Remove the lid and attach a candy thermometer to the side of your pot, heating till the thermometer reads 240° F.
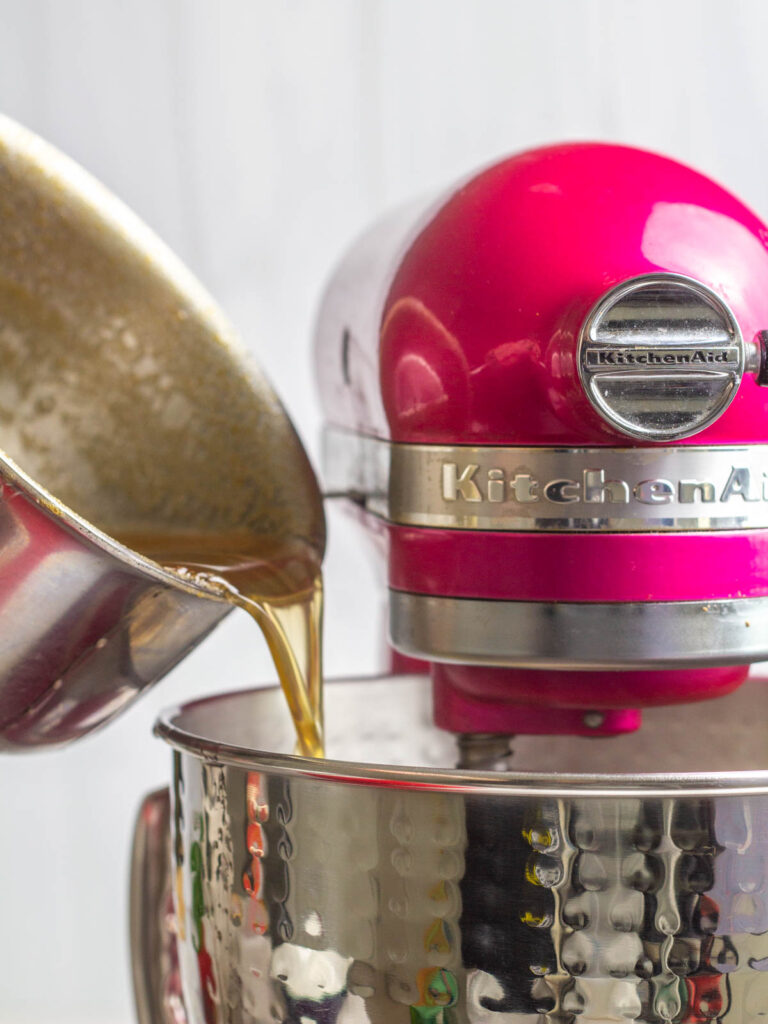
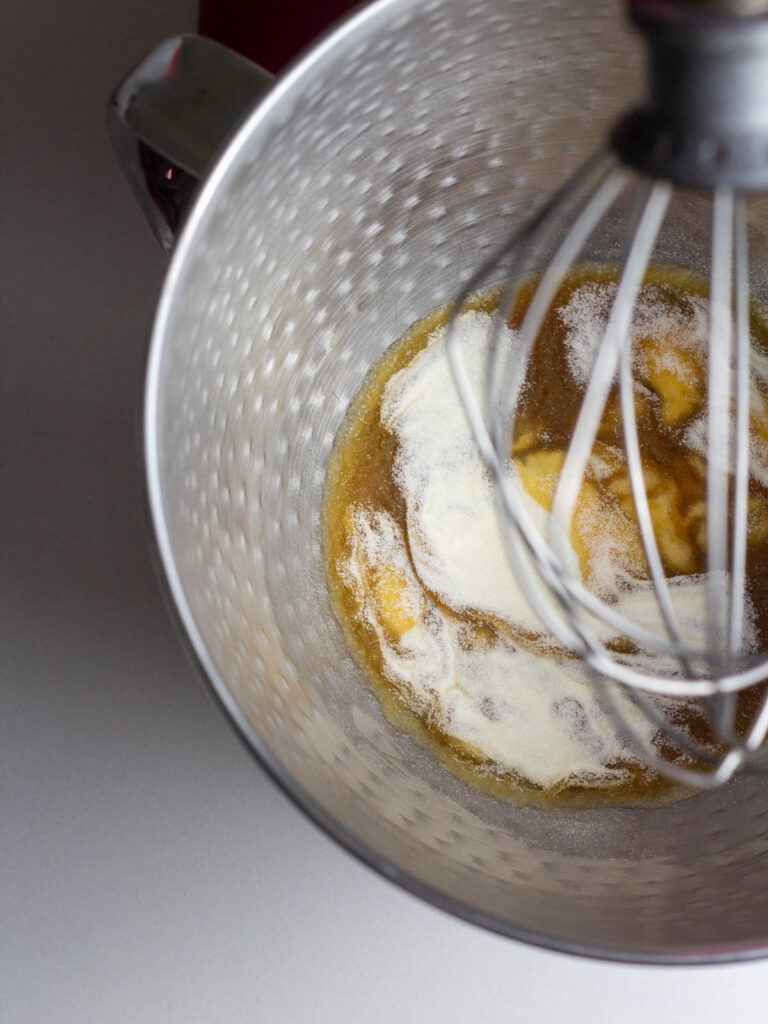
Step 5: Using the whisk attachment, start the mixer on low to begin combining the gelatin and apple cider. Slowly stream in the hot mixture.
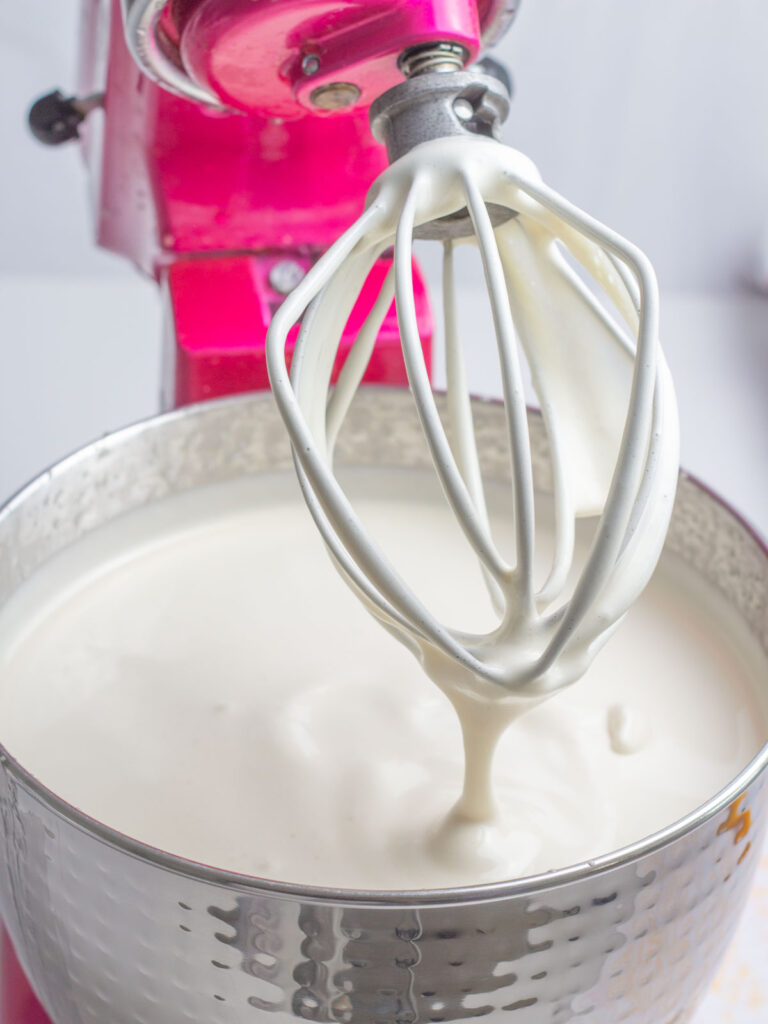
Step 6: Slowly increase the speed of the mixer, and beat on high speed for about 10 minutes.
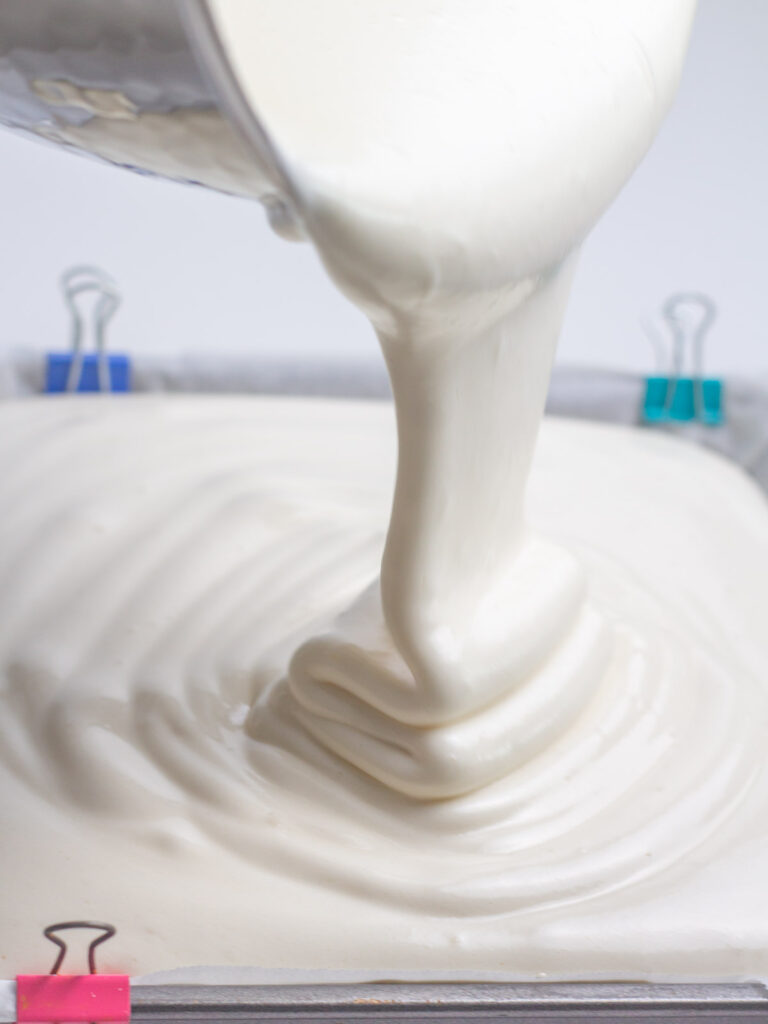
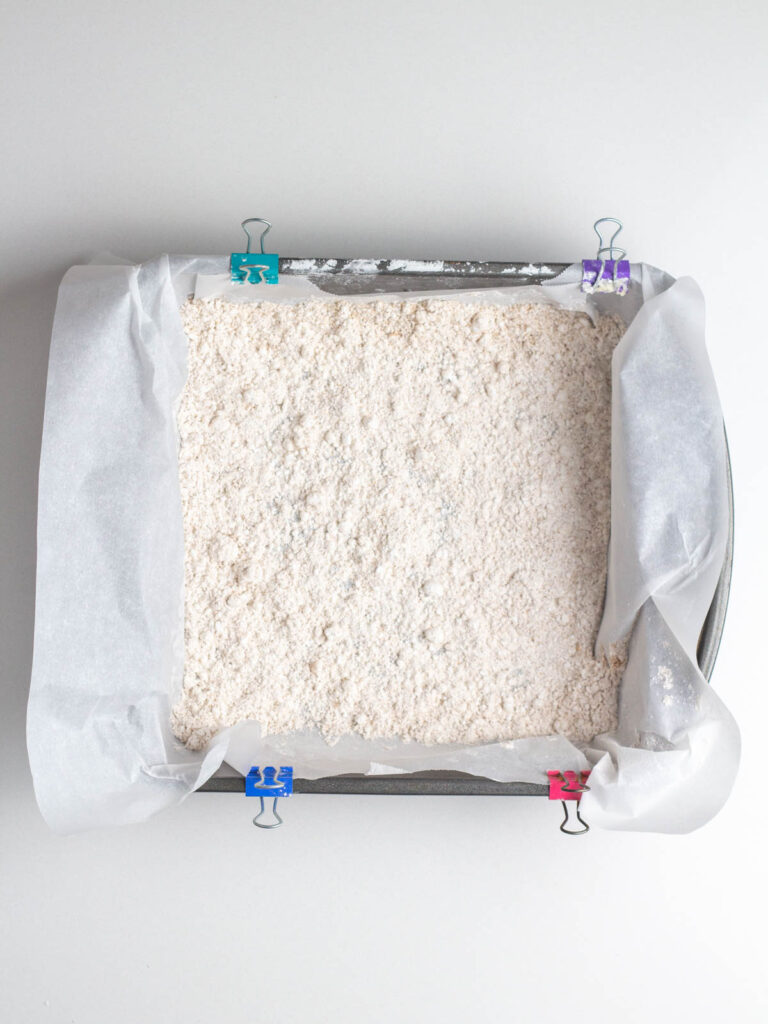
Step 7: Pour mixture into prepared pan, and top with remaining corn starch and powdered sugar mixture.
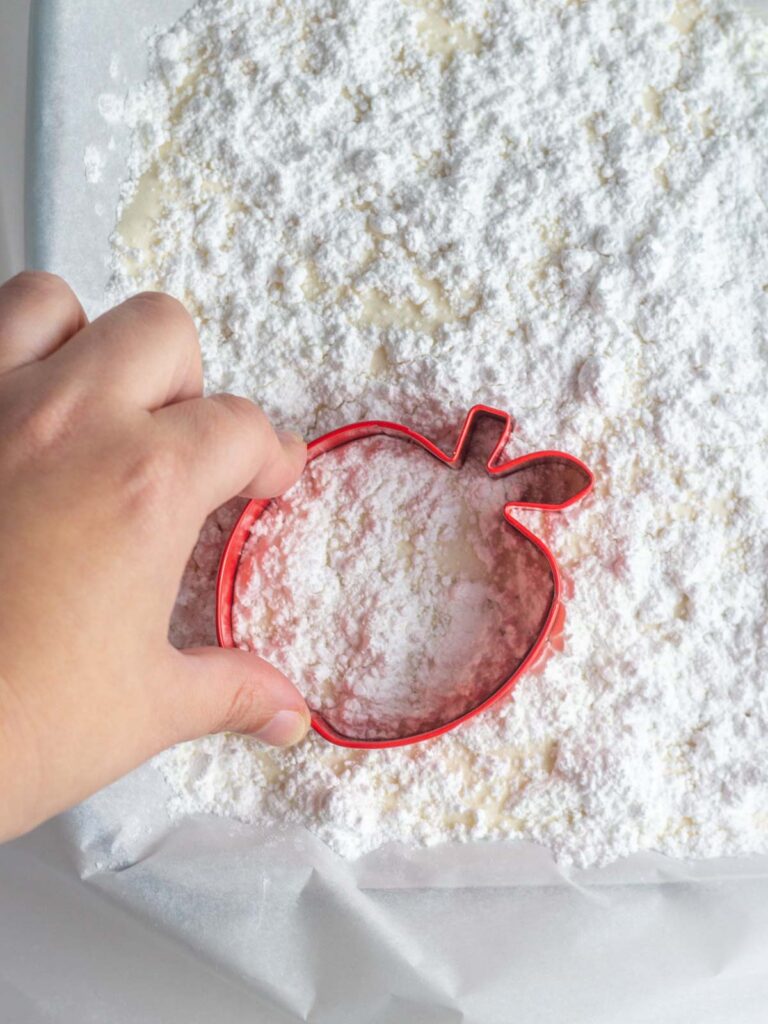
Step 8: Let set about 4 hours, then cut into squares or use a cookie cutter to cut into fun shapes like marshmallow apples!
Recipe FAQs
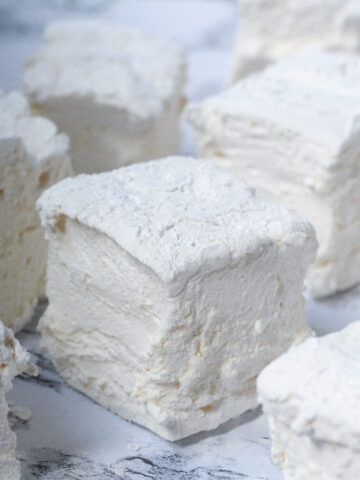
Absolutely, yes! Homemade marshmallows are infinitely better than a bag of marshmallows from the store. Once you try homemade, you will never go back! Especially when you can make so many delicious flavors like these spiced apple marshmallows!
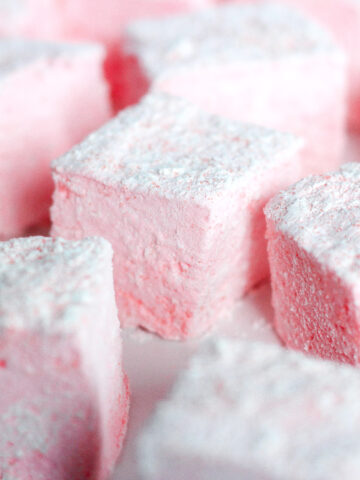
The squishiness is a combination of gelatin, corn syrup, and a liquid component. The fluffiness is due to how long the mixture is whisked. The whole time your mixer is running, air is being whipped into the sticky mixture making them so light and fluffy!
No, the marshmallows will set at room temperature.
Tips & Tricks
Tip #1: Combine the gelatin and cider in the mixing bowl before heating the corn syrup mixture. The gelatin needs time to bloom, which is done by combining the gelatin with liquid, helping soften the gelatin preparing it to dissolve when the remaining ingredients are added. This will happen while the corn syrup mixture heats.
Tip #2: To use a candy thermometer, simply clip the thermometer to the side of the pot. The tip of the thermometer should be fully immersed in the mixture but should not touch the bottom of the pot.
Tip #3: After streaming in the hot mixture, it's best to turn up the mixer just a notch or two at a time to avoid splattering the sticky mixture!
Storage Tips
- Apple Cider Marshmallows can be stored in an airtight container at room temperature for a few weeks.
- It's best to store homemade marshmallows in a plastic or glass container as opposed to a zip-top bag.
Related Recipes
Did you try this recipe? Leave a review below, and tag @flourdeliz on Instagram!
📖 Recipe

Apple Cider Marshmallows
Equipment
- stand mixer with whisk attachment
- medium saucepan
- candy thermometer
- silicone spatula
- 8x8 pan
Ingredients
- ½ cup cornstarch
- ½ cup powdered sugar
- 2 ½ tablespoons unflavored gelatin 3 packets
- 1 cups apple cider divided
- 1 ½ cups sugar
- 1 cup corn syrup
Instructions
- Combine cornstarch and powdered sugar.
- Line 8x8 baking pan with parchment paper.
- Sprinkle half of cornstarch mixture into lined pan until bottom of pan is covered.
- Put gelatin and half of apple cider in the bowl of a stand mixer and set aside.
- Combine the other half of the apple cider, sugar, and corn syrup in a saucepan.
- Cover and heat for about 5 minutes.
- Remove cover and attach candy thermometer to the side of the saucepan.
- Heat until the mixture reaches 240 F.
- Remove from heat.
- Start mixer on low speed and slowly stream in the hot mixture.
- Turn up the mixer speed and beat for about 10 minutes.
- Pour mixture into the prepared pan.
- Top with remaining cornstarch mixture and let set about 4 hours.
- Cut in to squares or cute shapes!
Notes
Nutrition
Nutrition information is automatically calculated so should only be used as an estimate. Accuracy is not guaranteed.
This recipe was originally posted on September 19, 2021, but was republished with new photos, additional information about the recipe, step-by-step instructions, FAQs, and tips and tricks in November of 2022.


Anzo says
Hi Liz, if I am using gold gelatine leaves (200 bloom), how many pieces should I use for this recipe? Thank you!
Liz Pollio says
Hi Anzo, unfortunately I have never used the gelatine leaves, but I did a little bit of research and it looks like it would need maybe 7-8. If you try it, I would love to hear how it goes!
Diann says
How many ounces are the gelatin packs please?
Liz Pollio says
Hi Diann, I'm so glad you asked as this is an update I'm working on making! Each packet is about 2 1/2 teaspoons, so for the three packets it should be a total of 7 1/2 teaspoons which is 2 1/2 tablespoons. I will update the post soon!
Kimberly says
Hi, it says baking pan... but what size? Thank you.
Liz Pollio says
Hi Kimberly, so sorry for the oversight! It's an 8x8 pan.