
The best part of homemade pop tarts is that you can make sure the frosting goes all the way to the edges! Or if you're one of those people who prefer unfrosted pop tarts, this is a no-judgment zone - you do you! These Homemade Apple Pop Tarts with a cinnamon apple cider glaze are super approachable to make, using just three ingredients for the pop tarts and three for the glaze, and taking just around 30 minutes.
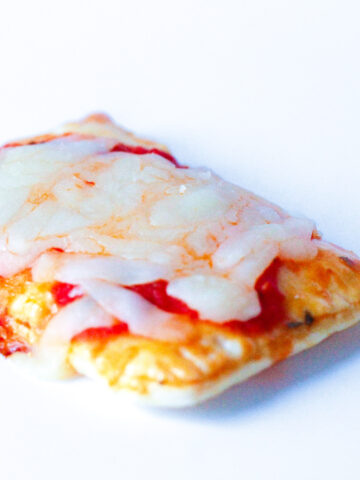
Looking for a different flavor? Try savory Pizza Pop Tarts, fruity Sangria Pop Tarts, and Strawberries & Champagne Pop Tarts for a fun, celebratory twist!
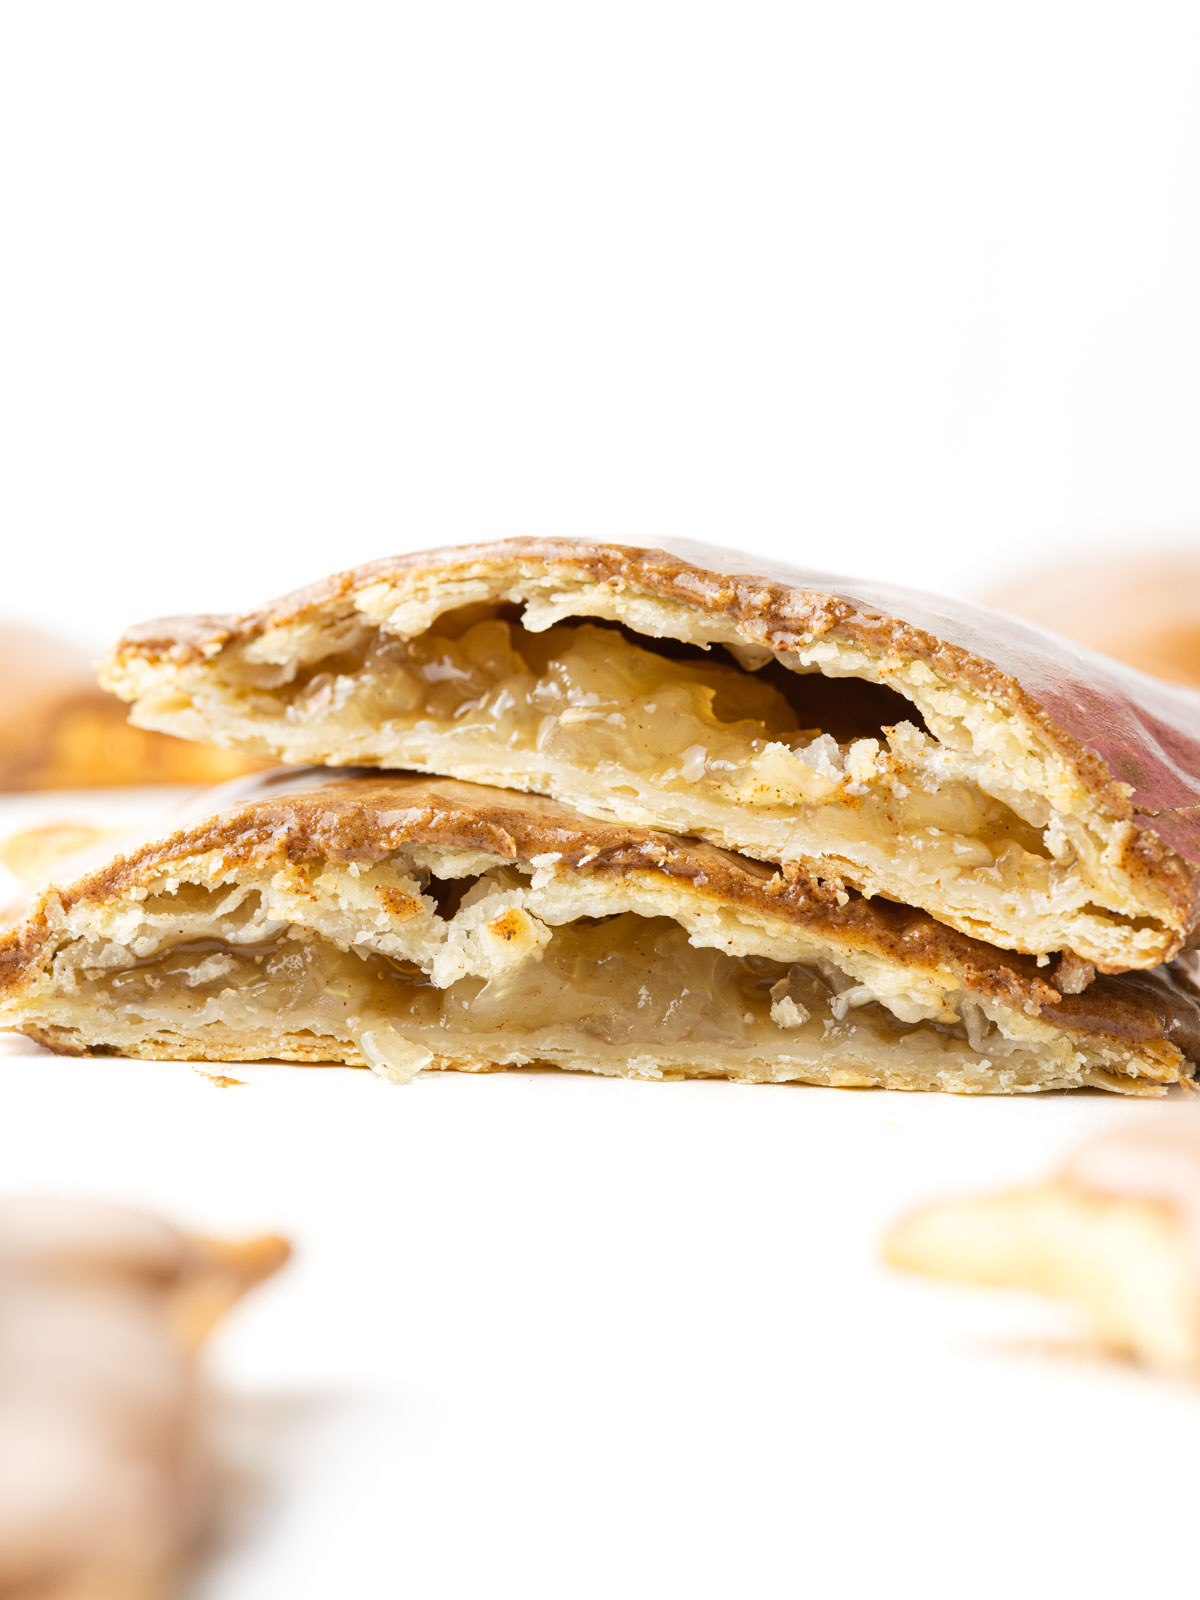
These Apple Pop Tarts are super quick and easy to make and are loaded with all the best fall flavors!
- Liz, Flour de Liz
🍭 Short & Sweet Recipe Overview
- ⏲️ Time: Takes just 20 minutes of work
- 🛒 Ingredients: Needs just 6 ingredients
- 🍽️ Servings: Makes 6 apple cinnamon pop tarts
- 🥣 Difficulty: Super simple (kid-friendly)
Summarize and save this content on:
Why You'll Love this Recipe
- Quick & Easy using canned apple pie filling and store-bought pie crusts
- The ultimate cozy nostalgic treat
- Customizable filling and glaze
- The best back-to-school breakfast or snack for both the kids and the adults! It's also a great pastry to add to a Thanksgiving brunch or Christmas morning, or the perfect way to kick off a fall birthday.
- Unlike store-bought pop tarts, these sweet fall treats have frosting all the way to the edges! Plus, the apple cider glaze adds the perfect touch of fall flavor!
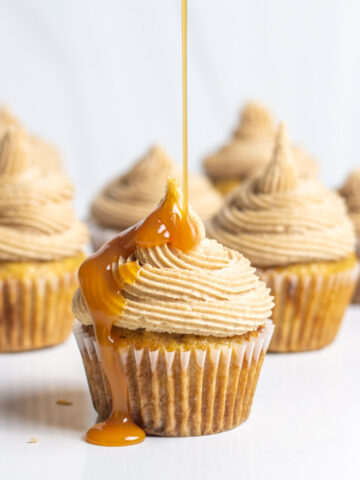
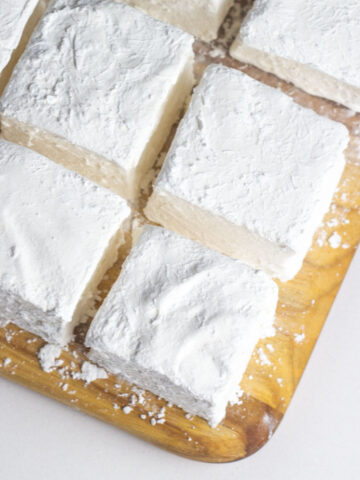
Looking for more apple treats? These Apple Cider Cupcakes with Cinnamon Brown Sugar Frosting are the ultimate fall cupcake, these fluffy Apple Cider Marshmallows are so light and fluffy, and these Apple Pie Cinnamon Rolls need just two ingredients.
Jump to:
Ingredients and Notes

Pie Crusts - I'm all about keeping things super simple so I use pre-made pie crusts for these simple Apple Pop Tarts. Be sure to buy the roll-out pie crusts and not the pie crusts that are already shaped into a pie dish.
We also use these roll-out pie crusts to make these easy 3-ingredient hamantaschen!
Apple Pie Filling - Canned apple pie filling often has larger pieces of apple so you'll want to dice or puree the filling. Diced is great if you want a chunky filling. I personally prefer to put it in the food processor and pulse a bit so it's a chunkier puree. If you have extra pie filling, try these Apple Pie Cinnamon Rolls!
Egg - Brushing the pie crust with egg before it bakes makes it crispy and golden brown, and gives the crust its shine. Skipping this or using egg whites will not give the same golden brown color and beautiful shine as using the whole egg, but the Apple Pop Tarts will still taste great!
The egg is also used around the edges of the pop tarts to help seal the dough and prevent the apple pie filling from leaking out the sides.
See the recipe card below for full information on ingredients.
Substitutions & Variations
Pie Crust - I love using store-bought pie crusts, but you can use homemade pie crust too. For an even flakier crust, you can use puff pastry instead. If you're using a homemade pie crust, you'll want to use a double crust recipe or you'll need to half this easy Apple Pop Tarts recipe. I really like this homemade pie crust recipe from The Cozy Plum!
Apple Pie Filling - I use canned, but you can make your own apple pie filling from scratch. Apple jam or apple butter would be delicious too!
When I'm not in a hurry, I love to make a from-scratch apple filling using fresh apples, apple cider, and the best fall spices. This is made by combining 2 cups of apple cider, 2 chopped apples, 3 cinnamon sticks, ¼ teaspoon of nutmeg, and a ¼ teaspoon of cloves in a saucepan over medium heat, stirring occasionally. When the apples are soft enough, mash them with a fork or potato masher. Continue heating until the mixture has reduced to a jam-like consistency, about 45 minutes to an hour. Let cool before filling pop tarts!
Glaze - The apple cider adds a hint of flavor to the cinnamon icing, but can easily be replaced with milk or caramel sauce. For a sweet twist on the cinnamon glaze, you can use a combination of apple cider and caramel sauce.
How to Make Apple Pop Tarts
Find the complete recipe with measurements in the recipe card below.

- Step 1: Roll out the pie crust into a square, as close to 9x9 as you can get, then cut the crust into three long rectangular strips, about 3" wide each.
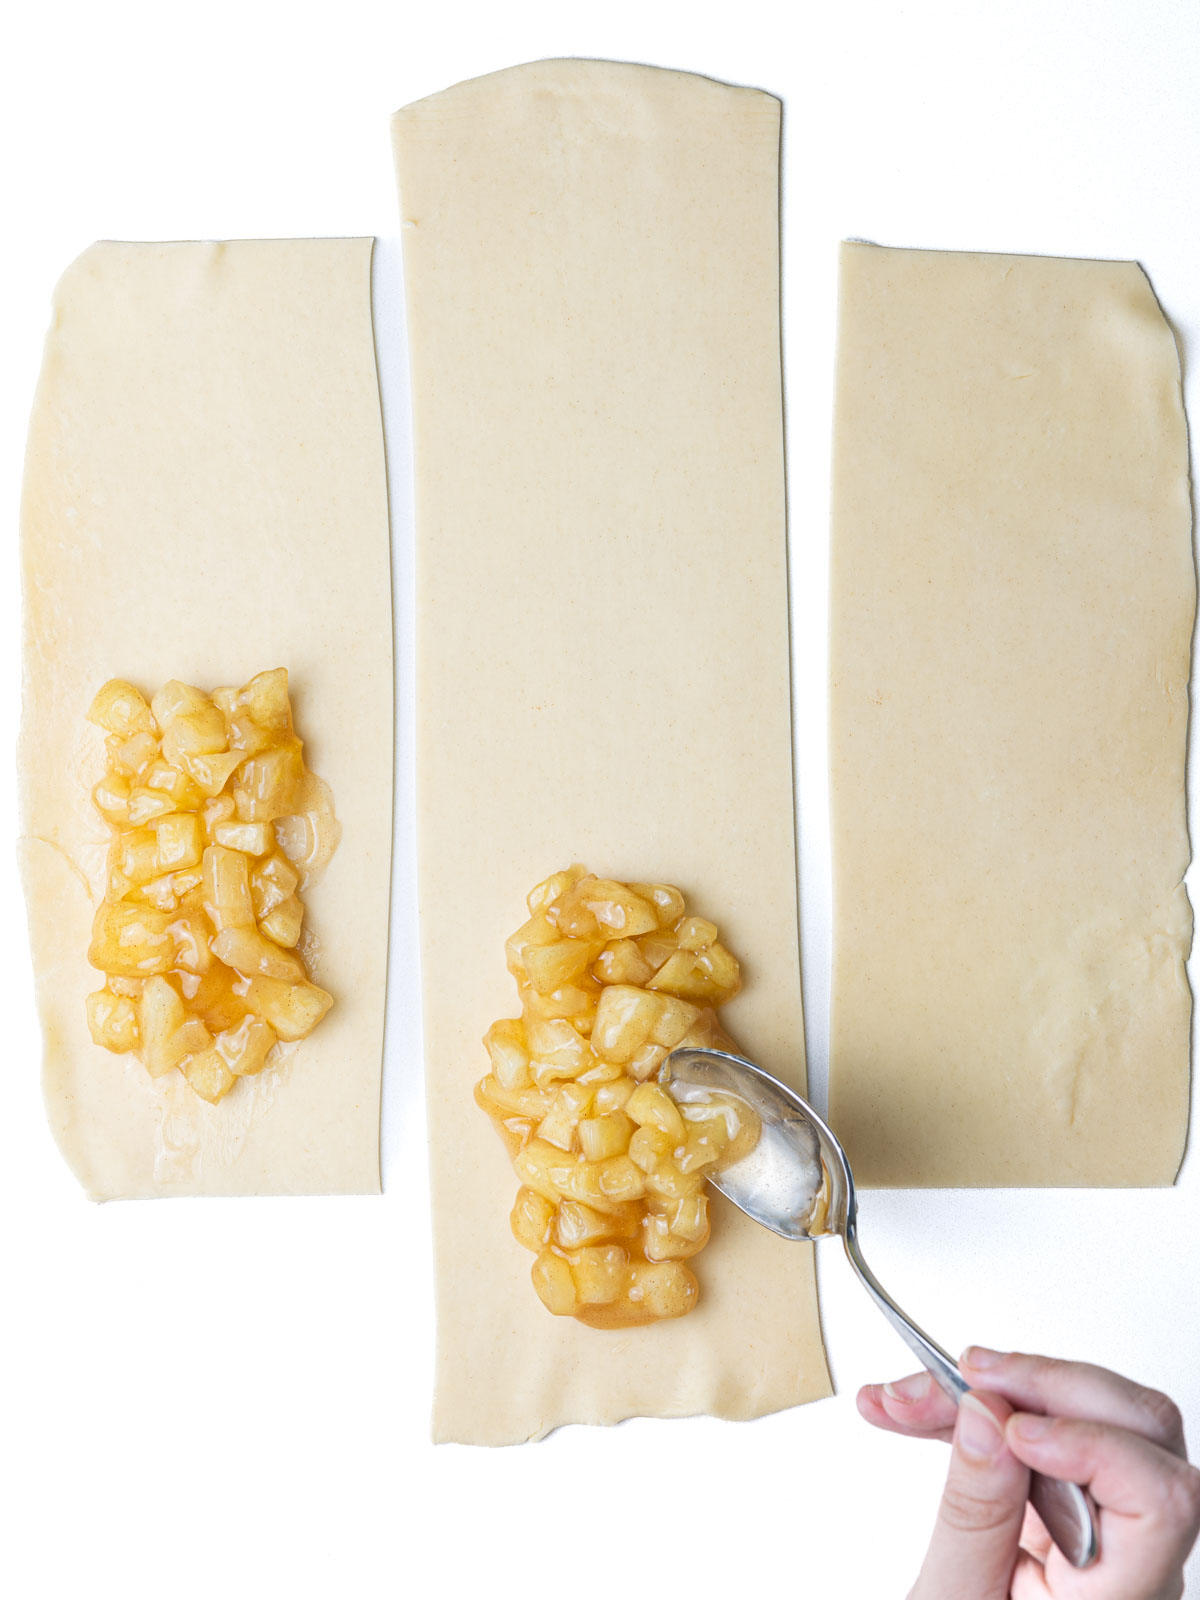
- Step 2: Spoon 2-3 tablespoons of diced or pureed apple pie filling into the center of one half (lengthwise) of each strip, leaving the edges uncovered.
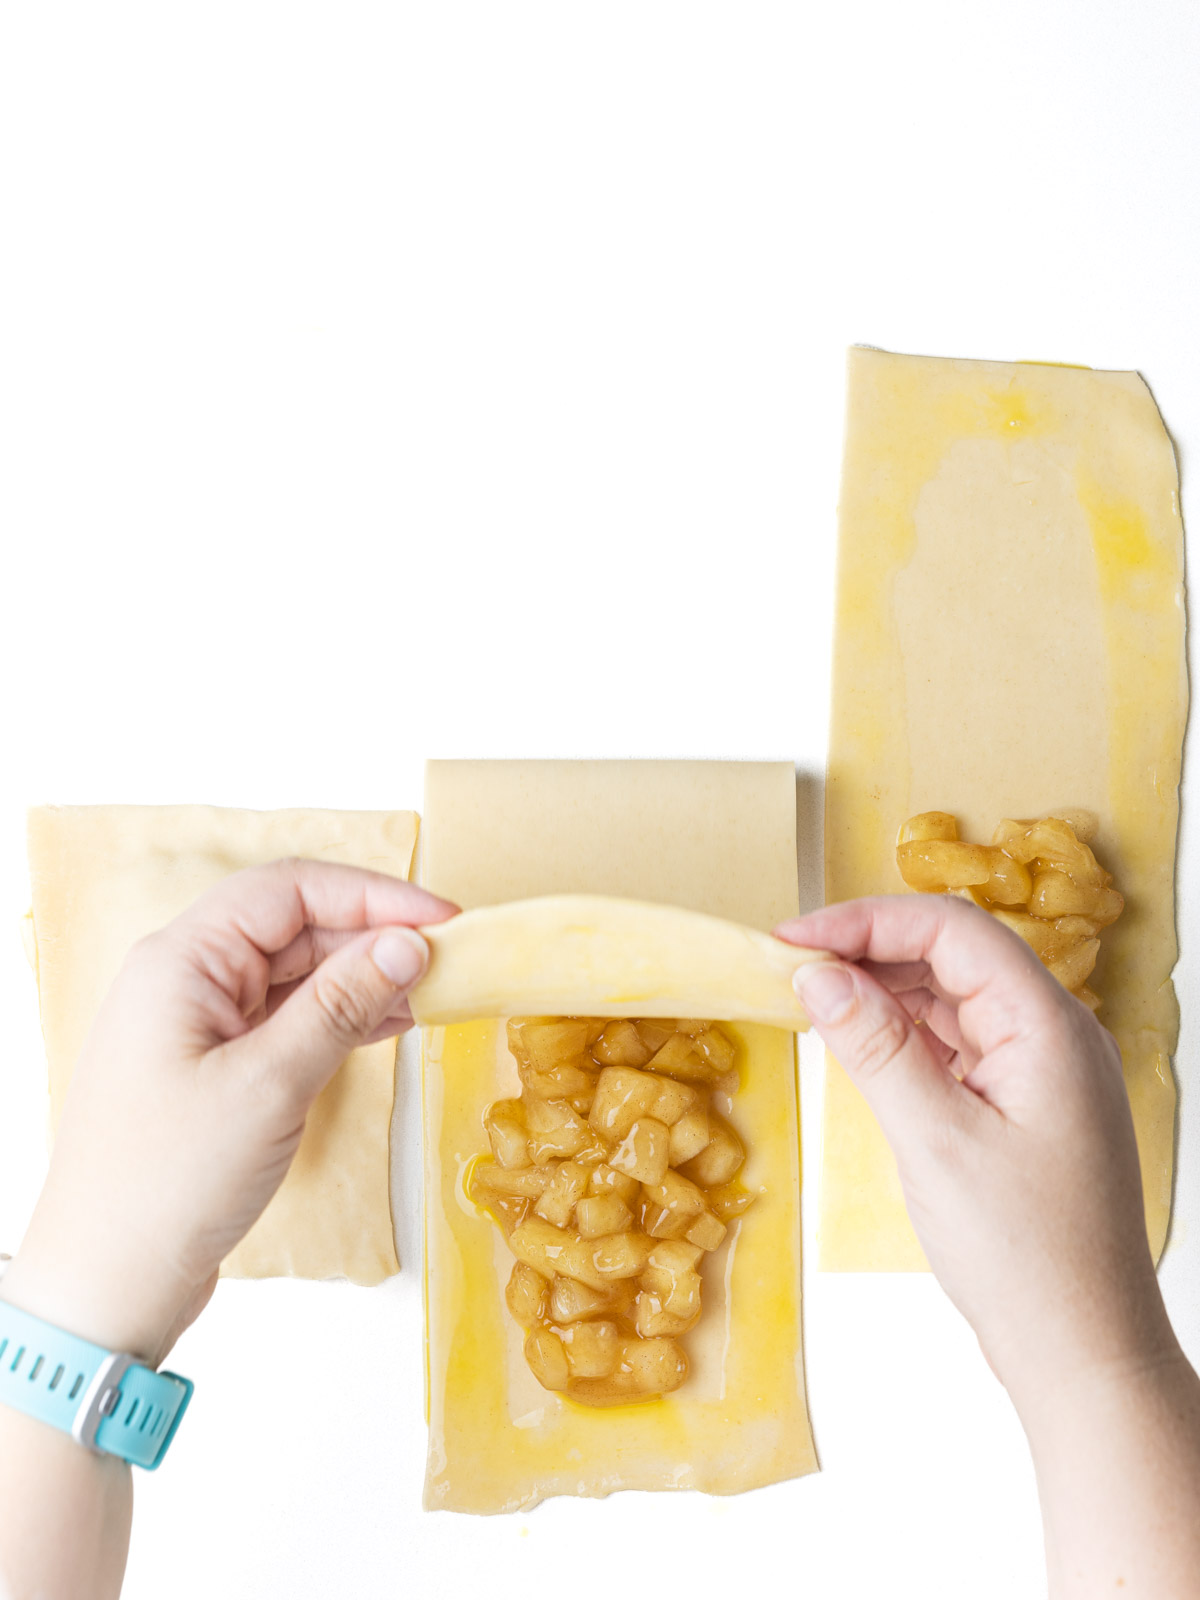
- Step 3: Brush the uncovered edges of the pie crust with the egg, and then fold the strip in half (lengthwise) so that the empty side of the strip folds over top of the jam.
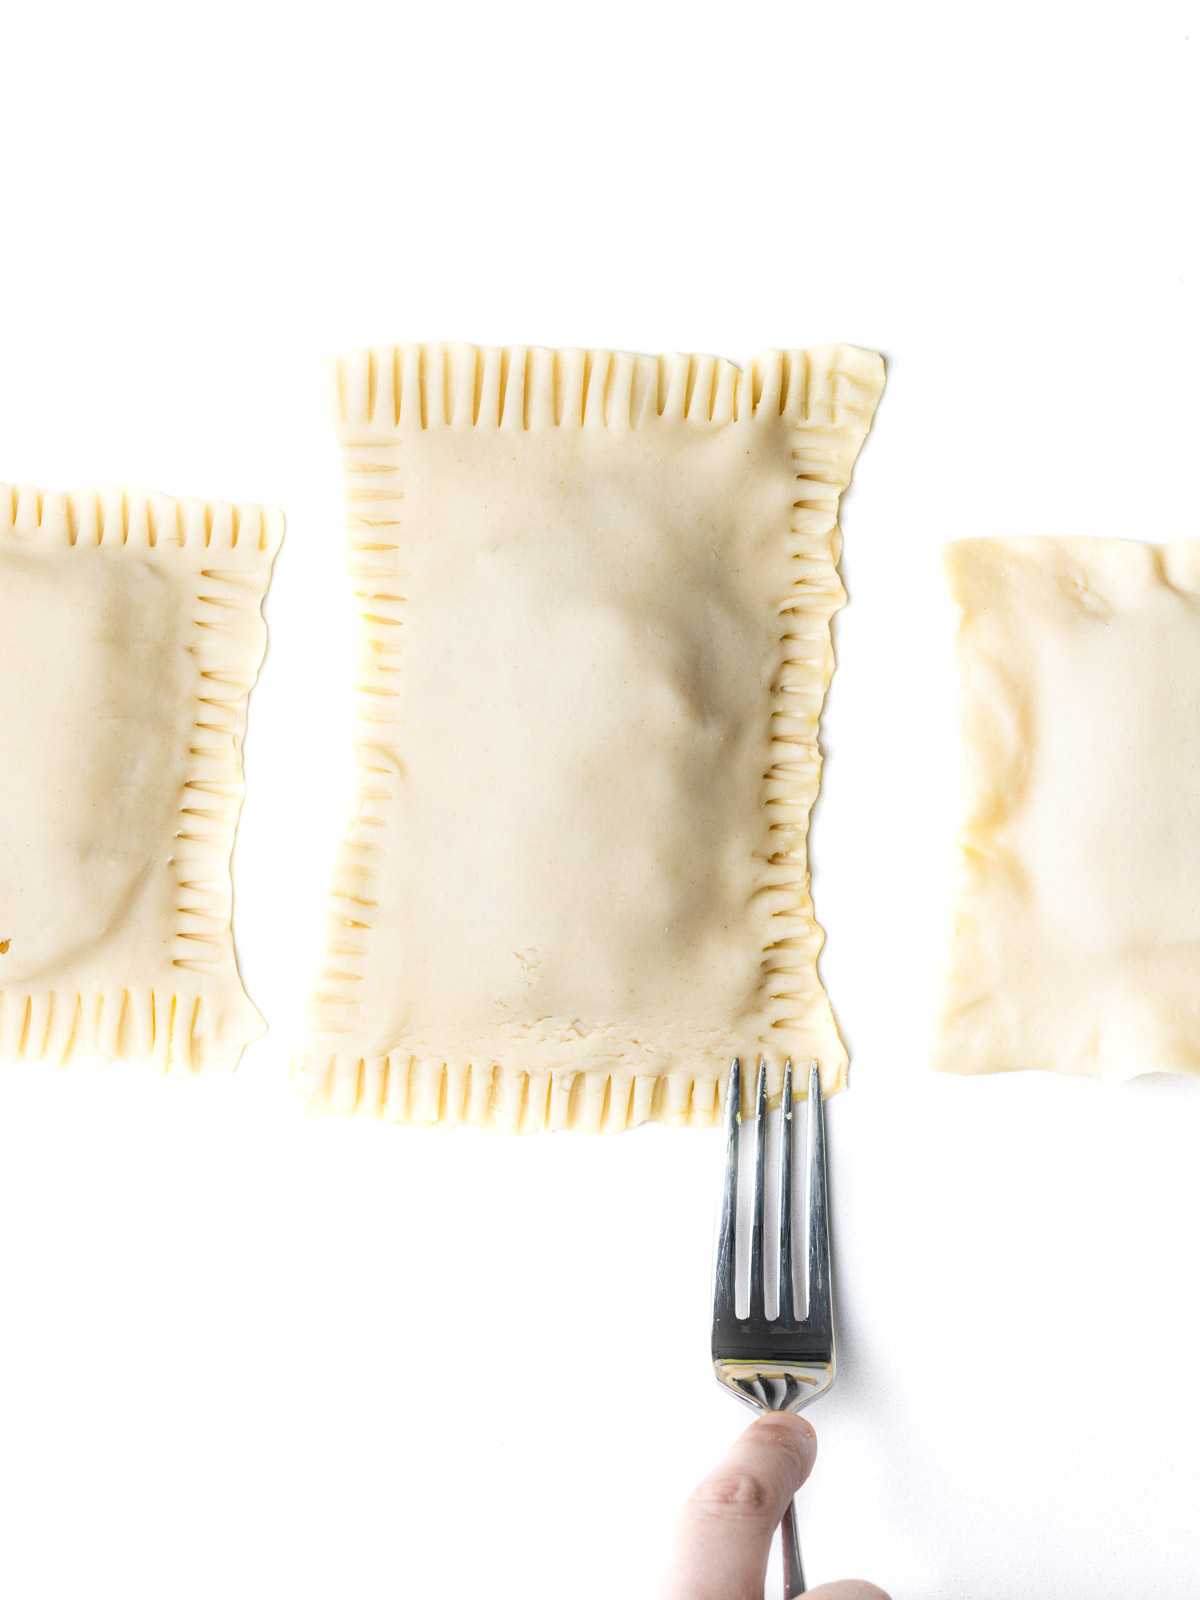
- Step 4: Use the prongs of a fork to crimp the edges, then place pop tarts on a parchment lined baking sheet (you may need two baking sheets), brush each pop tart with egg wash and bake at 400°F for 15-18 minutes. Cool completely.
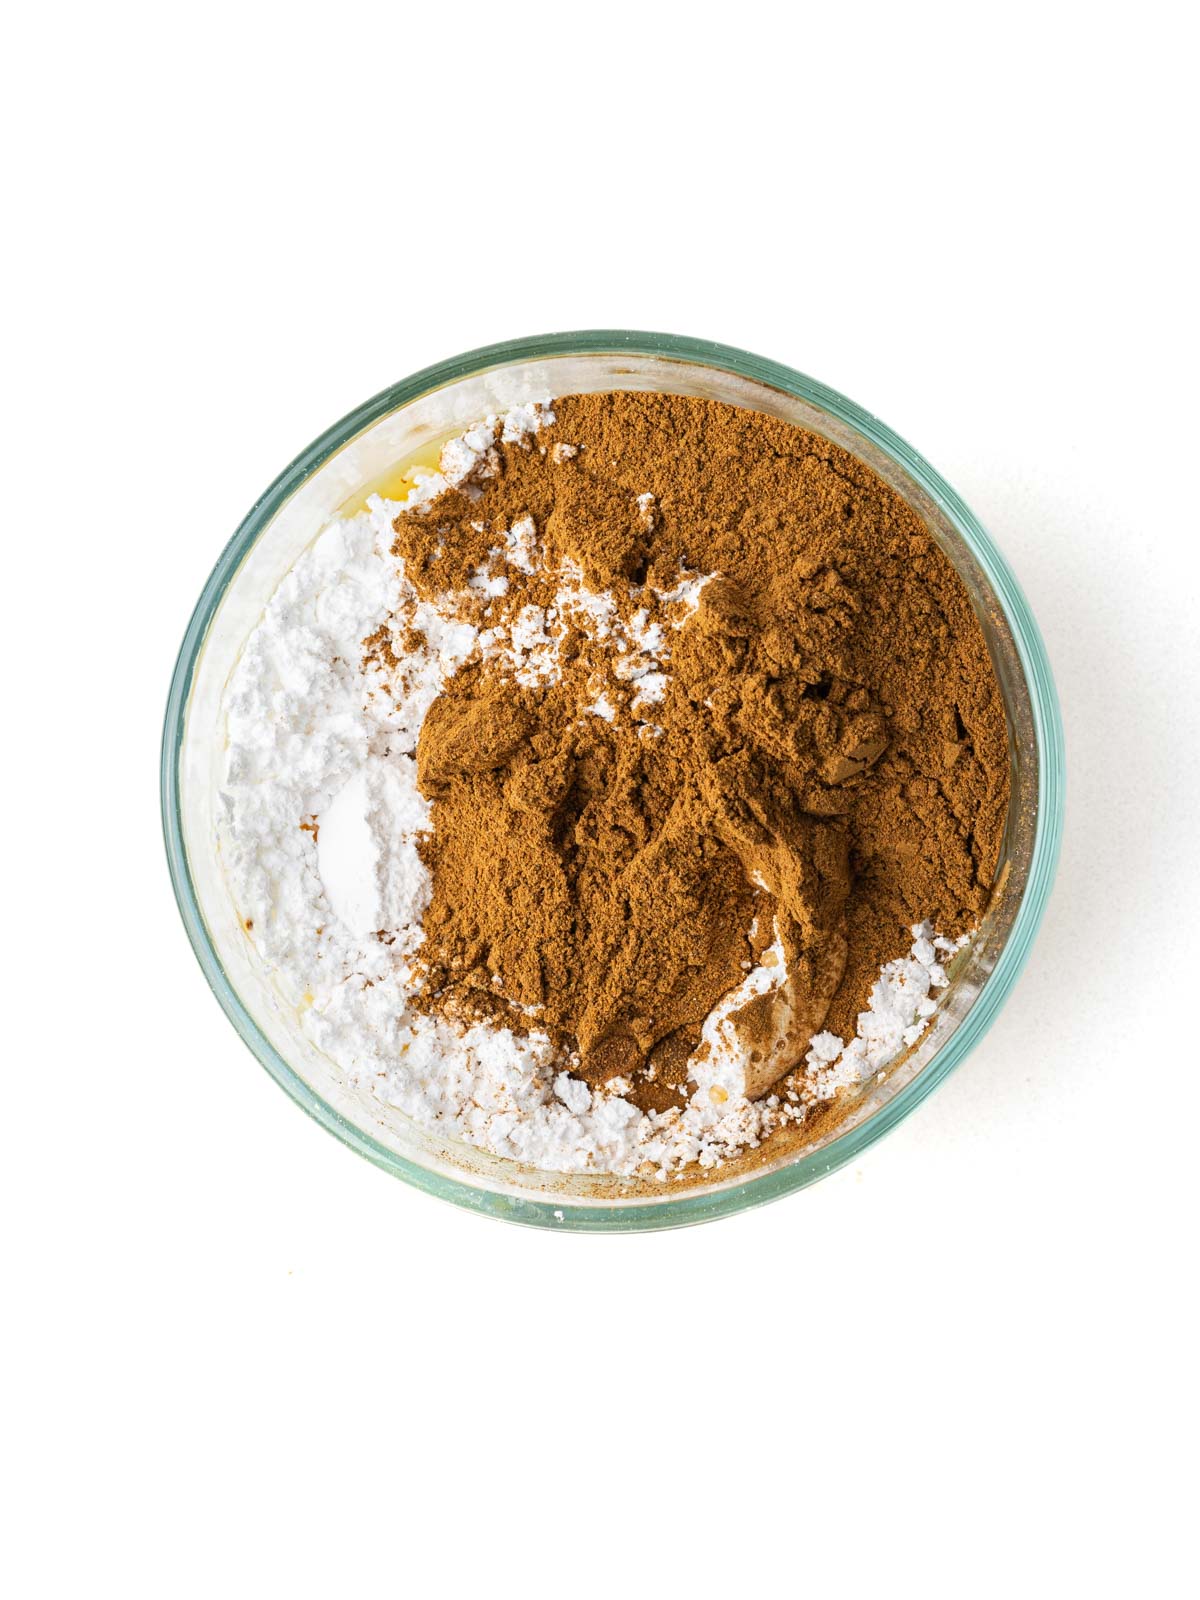
- Step 5: Combine all icing ingredients. You can adjust the measurements to get the icing whatever consistency you prefer. For a thicker frosting, add more powdered sugar. For a thinner glaze, add more apple cider.

- Step 6: Spoon or spread the cinnamon icing over top of the fully cooled pop tarts. Let set, then enjoy!
Recipe FAQs
One way to prevent soggy pop tarts is to ensure that your filling isn't too wet. If you're using a homemade filling, you may need to add some cornstarch to it to help thicken it. An egg wash creates a golden crust on the pie crust that can help prevent it from getting soggy. Brush the whole strip with egg to help add a layer of protection. You can also brush the strip of crust with a thin layer of melted butter before adding the filling to help prevent the crust from getting soggy.
Ensure the edges are well sealed. I pinch the edges together with my fingers before crimping them with a fork to help prevent leaking. A little extra egg wash on the edges can also help them stay sealed.
You also want to ensure your crust isn't rolled too thin. Using too much filling can also cause the crust to split open while baking. Any holes that form during assembly can be sealed with leftover pie crust and extra egg wash. Remember, it will all be covered with icing so it doesn't have to look perfect!
Because of the egg wash brushed over the top of the pop tarts, you will see the crust become a beautiful golden brown color like in the photo below. It will be very easy to see when they are done!
I would not recommend making these in advance. They will not keep well for more than a day or two, but should only be stored unfrosted. These fall pop tarts are best made no more than a day ahead of serving and should not be frosted until shortly before serving.
Apple Pie Pop Tart Tips & Tricks
Tip #1: If using store-bought pie crust, defrost according to package directions. Note that if you keep it in the refrigerator instead of the freezer, it will still need to sit at room temperature for 10-15 minutes before unrolling. If you've stored it in the freezer, it will need to defrost before unrolling.
Tip #2: If using the roll-out pie crusts, they are often circular so it can be challenging to roll it into a square. Just get it as close as you can, and then cut off the edges to make it closer to a square.
Tip #3: If your apple pie filling is on the runnier side, stir in a bit of cornstarch to help thicken it. Add a teaspoon at a time until you reach the desired consistency. If it's too wet, it will lead to a soggy pop tart, and is also likely to seep out the edges.
Tip #4: Pinching the edges of each pop tart together with a bit of the egg on your fingers can help seal the edges. If you can see the seam, your filling may leak out as it bakes.
Tip #5: Be cautious that the tip of the fork does not puncture the part of the dough that's holding the filling. Crimping the edges with a fork should help to seal the edges, but should not be pushed all the way through.
Tip #6: Make the icing thicker than you will want on these easy fall pop tarts. It will spread and run off the pop tarts resulting in a thinner coating than what you put on.
Tip #7: Apple Pop Tarts are best eaten within a day of making them. Be sure to store them unfrosted and wait to frost until shortly before serving. They will get soggy if stored with the glaze already added.

More Fall-Spiced Recipes to try!

👩🍳 If you tried these Apple Pop Tarts or any other recipe on my blog, please leave a ⭐⭐⭐⭐⭐ rating in the recipe card below and leave a comment. I love hearing from you!
📖 Recipe

Homemade Apple Pop Tarts
Equipment
- Rolling Pin
- Baking sheet
- small bowl
Ingredients
- 2 roll-out pie crusts 1 box generally contains 2 crusts if using store-bought
- 2 cups apple pie filling diced or pureed, see notes
- 1 egg beaten
Icing Glaze
- 1 ½ cups powdered sugar
- 2 tablespoons cinnamon
- 2 tablespoons apple cider
- 1-2 tablespoons caramel optional
Instructions
- Defrost pie crust according to package directions.
- Preheat oven to 400° F. Line 2 baking sheets with parchment paper.
- Roll out the pie crust into as close to a square as you can (see notes).2 roll-out pie crusts
- Cut into 3 even strips.
- Spoon the pie filling onto one half of each strip, leaving the edges uncovered.2 cups apple pie filling
- Brush the edges with egg, and then fold the strip in half so that the empty side of the strip folds over top of the filling.1 egg
- Seal the edges with your fingers, and then press edges with a fork.
- Brush the top of each poptart with egg and bake for 15-18 minutes.
- Cool completely.
Icing Glaze
- Combine all icing ingredients, adjusting the measurements as needed to get the flavor and consistency you're looking for. See notes below for tips about icing consistency.1 ½ cups powdered sugar, 2 tablespoons cinnamon, 2 tablespoons apple cider, 1-2 tablespoons caramel
- Spoon the icing glaze over cooled poptarts.
- Let the icing set, then enjoy!
Video
Notes
Nutrition
Nutrition information is automatically calculated so should only be used as an estimate. Accuracy is not guaranteed.

Comments
No Comments