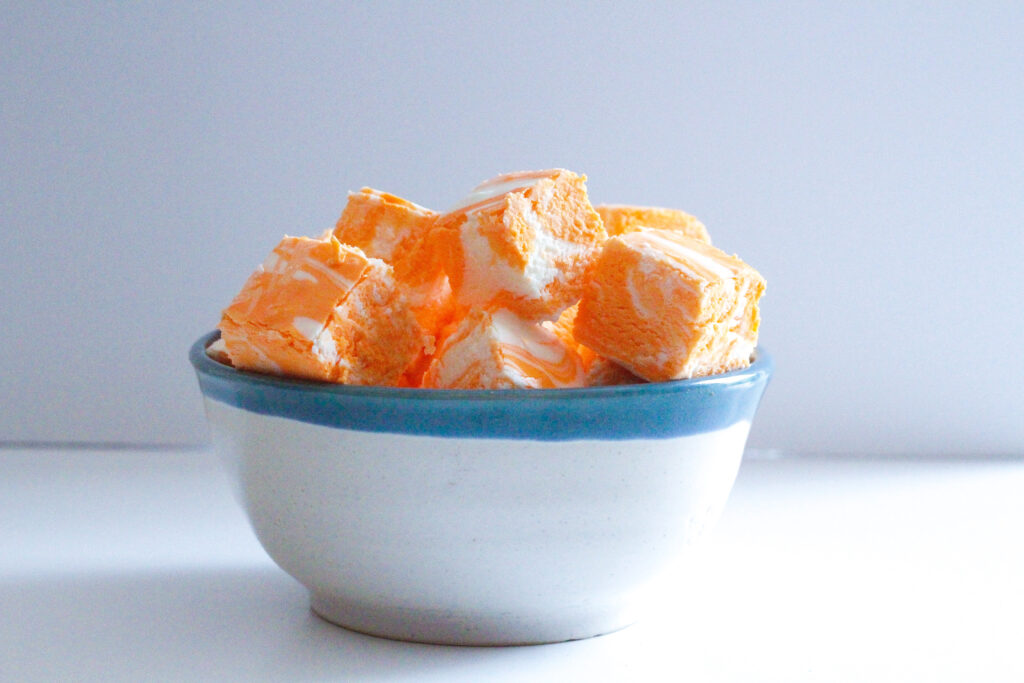
This Creamsicle Fudge is the second in my series of ice cream flavored fudges, and it is by far the prettiest fudge I've ever seen! This no-bake recipe does not require a candy thermometer and can be made in less than 30 minutes! Plus, I mean, just look at it!
Why this recipe works
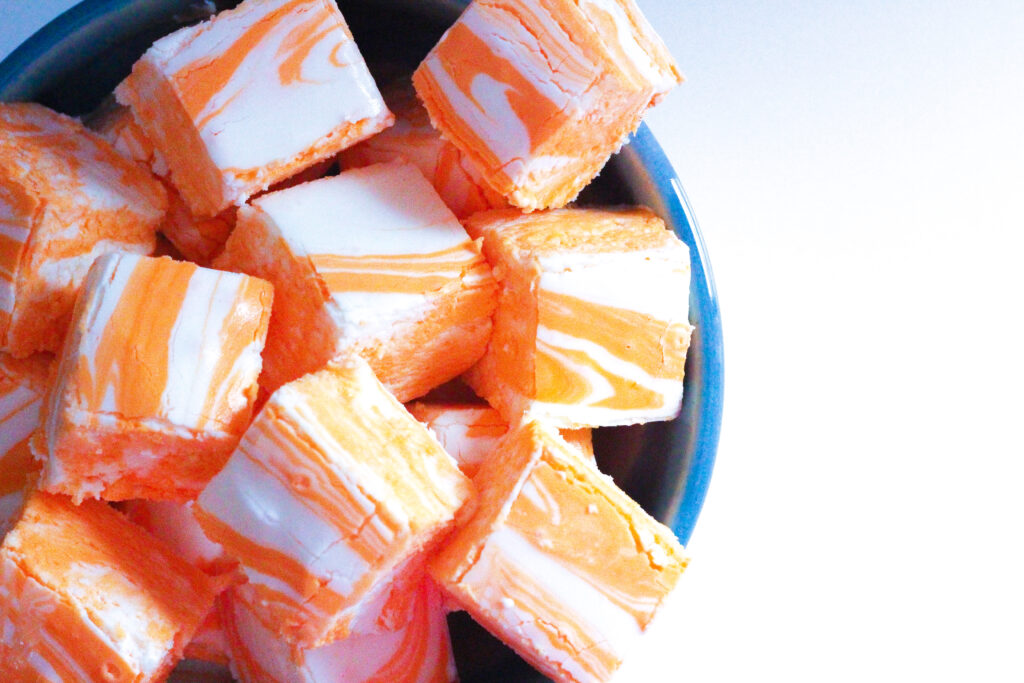
This recipes swirls together vanilla fudge and orange (in both flavor and color) fudge, but what makes this so easy is that you can prep both flavors in one bowl, and then split them add the end to add the color and flavor! This fudge is soft and creamy and the flavors and colors both combine so beautifully.
And as an added bonus, this recipe is nut-free and gluten free!
Ingredients and notes
Vanilla Melts - You want to be sure to use vanilla here and not white chocolate. This will make up the white portion of the fudge so to get the full effect of the creamsicle flavor, you definitely want vanilla. You will also turn half of this into orange flavored later in the process!
Marshmallow Fluff - This contributes to both the texture and the sweetness of the fudge. It helps makes the fudge soft and creamy.
Orange Extract - This is the other half of the flavoring. After making the fudge with the vanilla base, you'll separate out half of it and color and flavor it orange. This is also an essential element of the creamsicle flavor.
How to make this recipe
Prepare your pan
Step 1
Line an 8x8 pan with either wax paper, wax side up, or non-stick foil, non-stick side up. Set aside.
Vanilla Fudge Base
Step 2
Place chopped candy coating and marshmallow cream into a heat-proof mixing bowl and set aside.
Step 3
Combine sugar, cream, butter, and salt and heat over medium heat. Bring to a boil and boil for 5 minutes, stirring constantly.
Step 4
Pour the hot mixture over the candy coating and marshmallow, which will melt from the heat of the mixture.
Step 5
Beat the mixture until smooth.
Step 6
Separate the mixture into two separate bowls in equal amounts. It doesn't have to be exact, you can eyeball it!
Swirl
Step 7
Add orange extract and orange food coloring to one bowl, and beat just until the color appears evenly disbursed.
Step 8
Alternate pouring vanilla and orange fudges into the lined pan.
Step 9
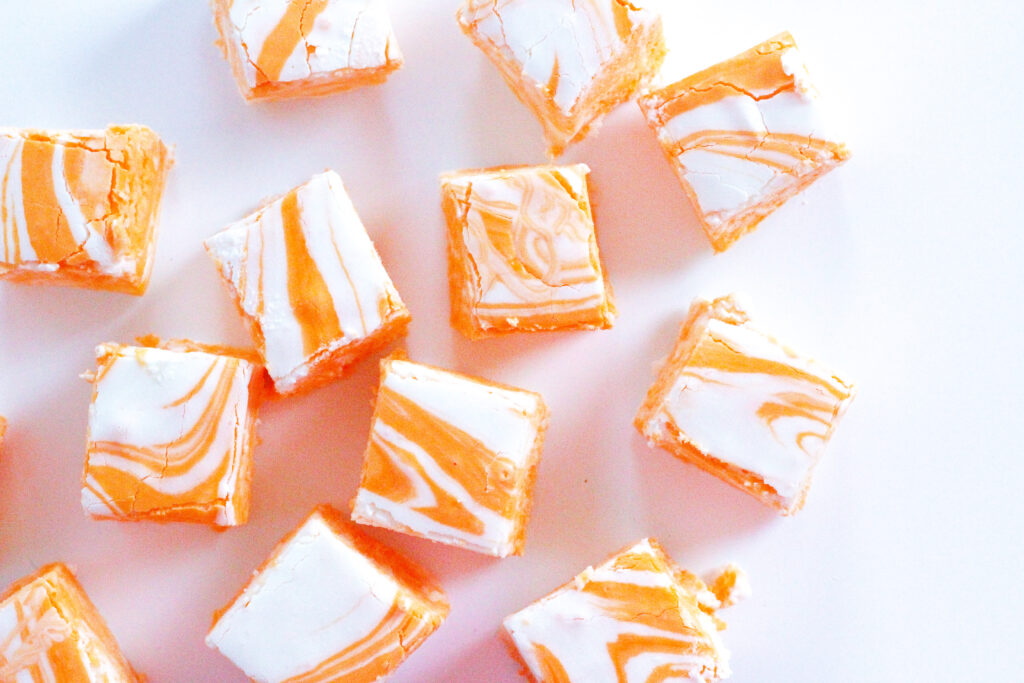
Using a butter knife, swirl through the full depth of the pan, but don't mix completely.
Step 10
Refrigerate until set, usually about 4 hours.
Step 11
Cut into cubes and enjoy!
Recipe FAQs
Creamsicle is generally an ice cream treat that's a mix of orange and vanilla flavors. I've seen it as a popsicle, a milkshake, and makes for a great flavor for so many other sweet treats!
This fudge can be stored at room temperature, but I generally think it keeps better in the fridge. It is a softer fudge so could get a little melty if your kitchen is warm. Whether you store it at room temperature or in the fridge, it should last about a week or two.
Chilling the fudge in the freezer instead of the refrigerator will help it set faster, but if it freezes it will need to defrost so you don't break your teeth when you bite in!
Tips & Tricks
- Binder clips can help hold your wax paper in place when lining your pan. Just make sure your wax paper comes all the way up the side of the pan, and place a binder clip over the edge holding the wax paper In place.
- When you pour the hot mixture over the vanilla melts and Fluff, let it sit for a couple of minutes before beating to make for a smoother mixture.
- When swirling the two colors together, try to get the knife down to the bottom of the fudge batter to ensure the colors are swirled throughout.
Related Recipes
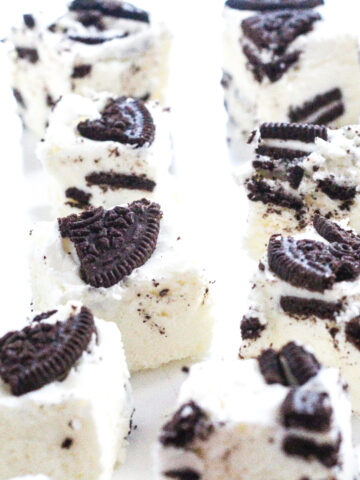
Cookies & Cream Fudge
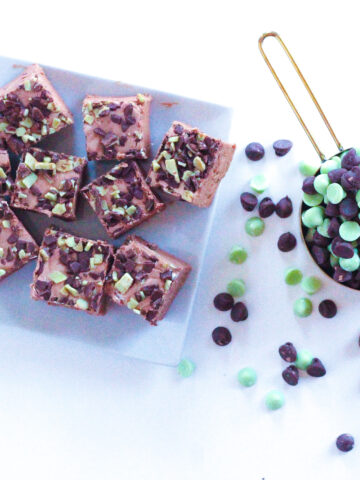
Mint Chocolate Chip Fudge
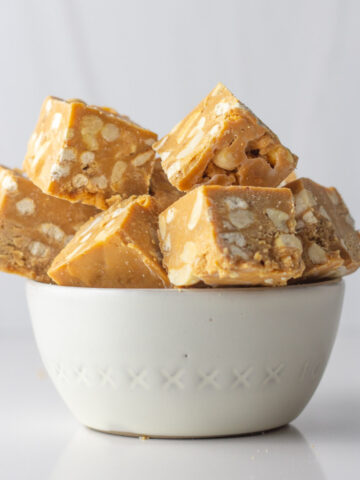
Salted Caramel Fudge
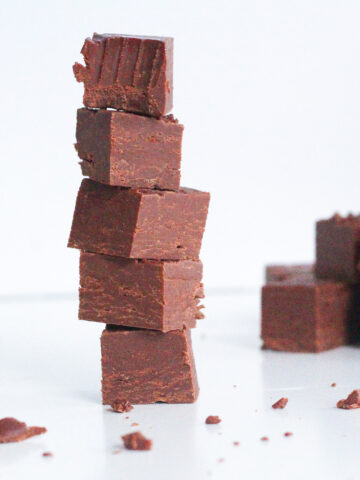
Hot Cocoa Fudge
Aperol Spritz Pie
Did you try this recipe? Review and comment below, and share a photo on Instagram and tag @flourdeliz!
Pin this recipe for later:
📖 Recipe

Creamsicle Fudge
Equipment
- 8x8 pan
- Saucepan
- Heat-proof mixing bowl
- handheld mixer if you have one; if not, a spoon or spatula will work
Ingredients
- 7 oz container Marshmallow Fluff about 2 cups
- 12 oz vanilla melts or chopped vanilla candy coating about 2 cups
- 1 ½ cups sugar
- ¾ cup cream
- 1 ½ sticks butter
- ½ teaspoon Kosher salt
- ½ teaspoon orange extract
- orange food coloring
Instructions
- Line an 8×8 pan with wax paper, wax side up.
- Put candy melts and Marshmallow Fluff into a heat-proof mixing bowl and set aside.
- In a large saucepan over medium-high heat combine sugar, cream, butter, and salt.
- Bring to a boil and boil for 5 minutes, stirring constantly.
- Pour the hot mixture over the marshmallow and candy coating.
- Beat with electric mixer until smooth.
- Split the mixture into two bowls.
- Add orange extract and food coloring to one bowl.
- Alternate pouring the vanilla and orange mixtures into the pan.
- Using a butter knife, swirl through the pan creating a marbled effect with the batter.
- Chill until set, about 4 hours.
- Cut into cubes and enjoy!
Notes
Nutrition
Nutrition information is automatically calculated so should only be used as an estimate. Accuracy is not guaranteed.
This recipe was originally posted on November 1, 2016, but was republished with an updated recipe, new photos, additional information about the recipe, step-by-step instructions, FAQs, and tips and tricks in January of 2024.
Comments
No Comments