Cinnamon Rolls feel like a special occasion breakfast. They're super easy to make out of a can, but it's still never a routine treat. I think that connection to special occasions makes them taste even better whenever we do have them. Well, it turns out they're not too hard to make from scratch either! And when you make them from scratch, it makes them even more special which makes them more delicious! Making them from scratch also lets us get creative, which is how I ended up replacing the cinnamon flavor with a hot cocoa flavor for these Hot Cocoa Rolls. If cinnamon is more your speed, try these Apple Pie Cinnamon Rolls!
One thing to note before starting these is that they do need some time to rise two separate times in the process so you'll want to start them a few hours before you want to eat them. You could even bake them the night before, and just warm them in the morning before topping them with icing. But even though these take a some time, most of this time is just waiting, and the prepping is fairly simple!
You start by heating milk and butter, then letting that cool till lukewarm. If you add yeast to liquid that's too warm, it won't activate so you want to make sure the milk and butter combo is lukewarm. Once not too hot, add the yeast and let it foam. Using the dough hook on your mixer, set to stir and add in the sugar and salt.
Slowly add flour until a ball forms and all the flour is mixed in. You might not use all the flour, or you might need a bit extra so keep checking the dough once it forms the ball and continue slowly adding flour until it's tacky but not sticky. For me it took somewhere between 2 ¼ - 2 ½ cups to get to this point. Then you'll just leave that ball sitting there in the mixing bowl. Cover the top of the bowl so the dough doesn't dry out, and take a break for an hour. You deserve a break!
After an hour, the dough should have approximately doubled in size. If not, you can let it rise a bit longer. Once it's risen (or while it's rising, if you're feeling ambitious) you'll combine super softened, but not melted, butter with hot cocoa powder. To be clear, this is powdered hot chocolate, not cocoa powder. You do not want to use cocoa powder for this.
Roll out the dough into a big rectangle. I rolled mine pretty thin, probably around ⅛", maybe a little less. Then spread the butter and hot cocoa combo all over the rectangle, leaving about an inch uncovered on one of the long edges of the rectangle. I spread the filling pretty thin, but if you like more filling, you can double the filling recipe and spread it thicker. Once covered, roll into a log, starting along the long edge opposite the uncovered edge. The uncovered edge should help to seal the dough into a log.
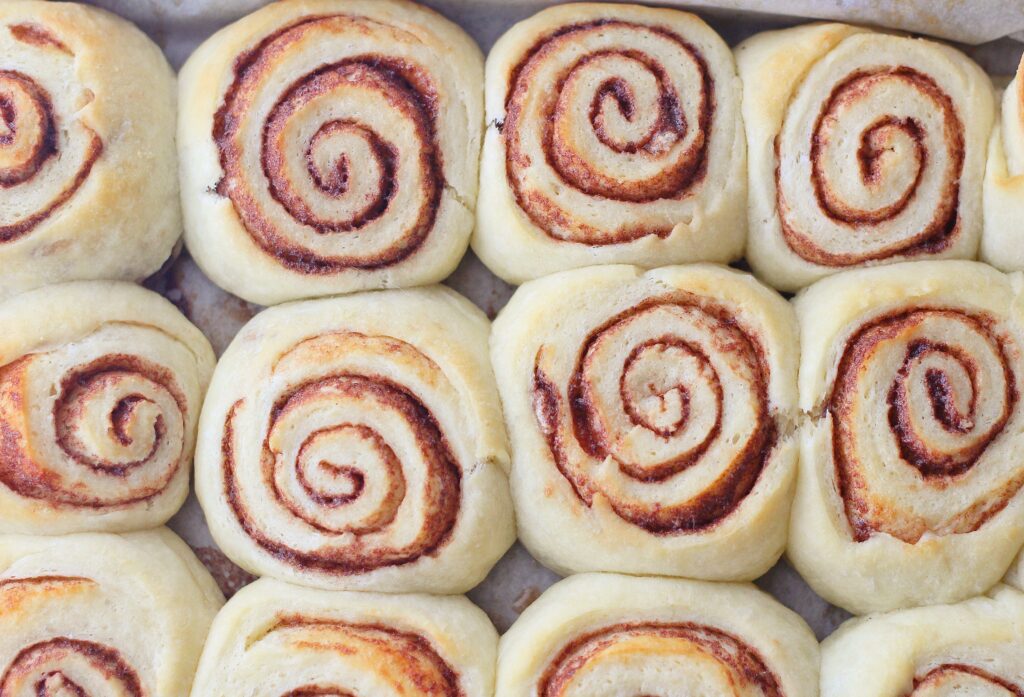
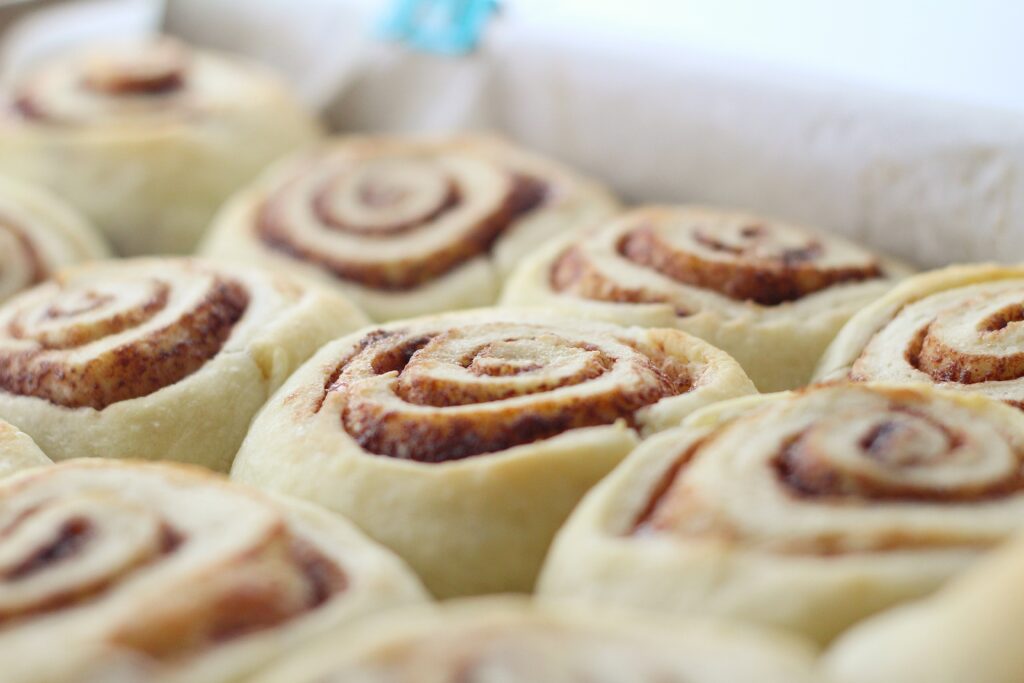
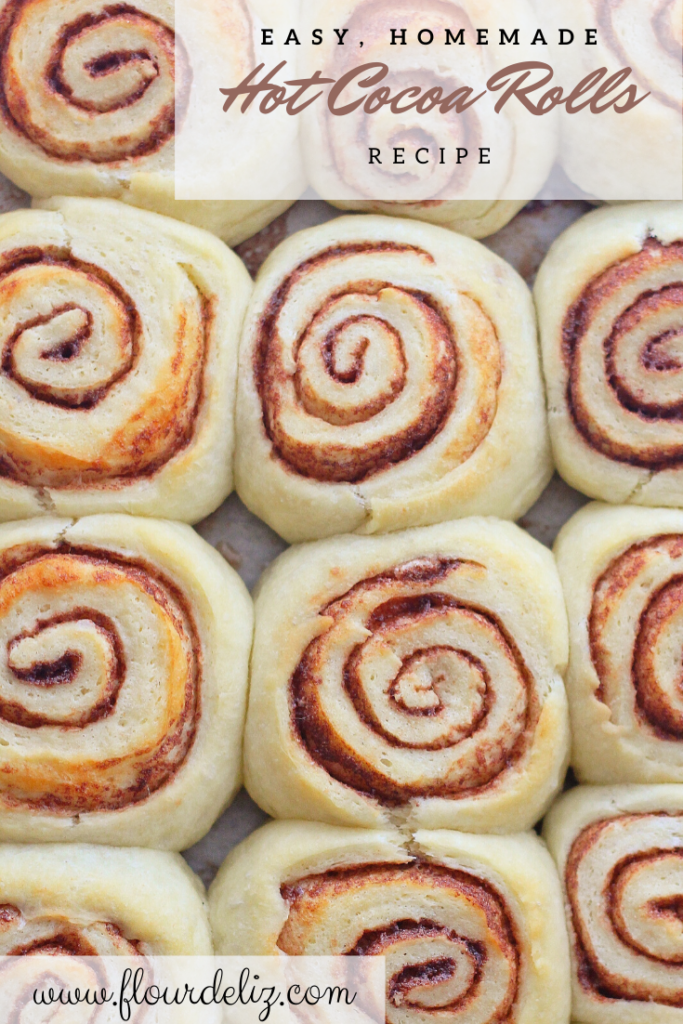
Slice the log into 10-12 rolls using a serrated knife. I start by slicing it in the middle and then slicing each half in half again. Then I cut each quarter into 2-3 rolls depending on size. Place in a parchment-lined baking dish and brush each of the hot cocoa rolls with melted butter. Set the pan on top of the oven while the oven preheats to 350 F. This will be similar to "proofing" which lets the dough rise in low heat. The heat from the oven preheating will expose the pan to slightly warmer temps, but not the full heat of the inside of the oven. This can sit for 30 min to an hour. Another break for you!
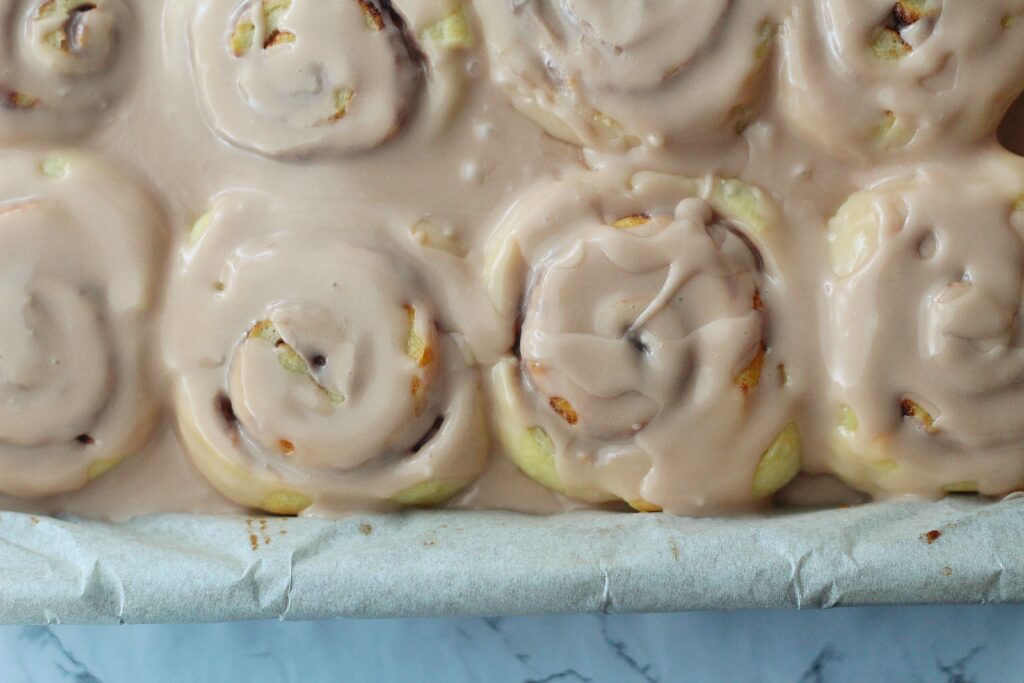
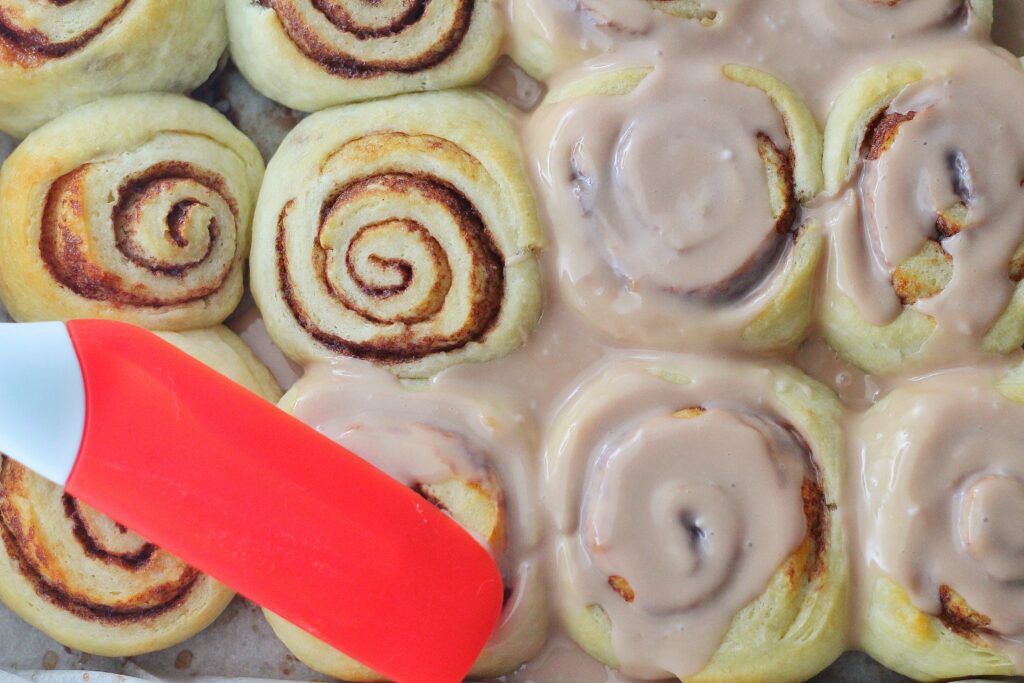
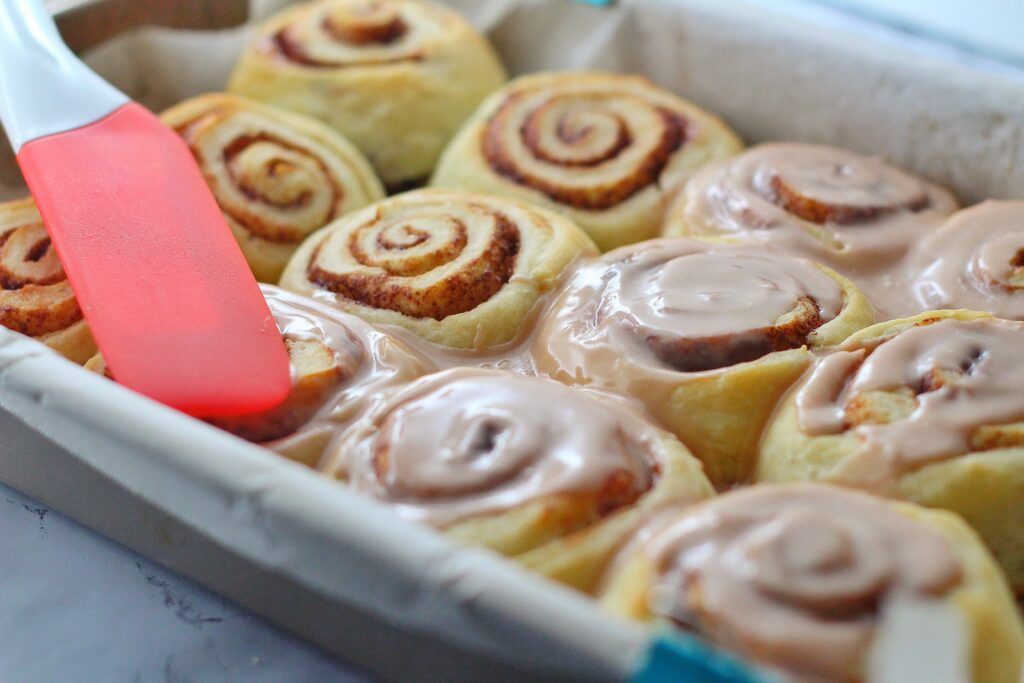
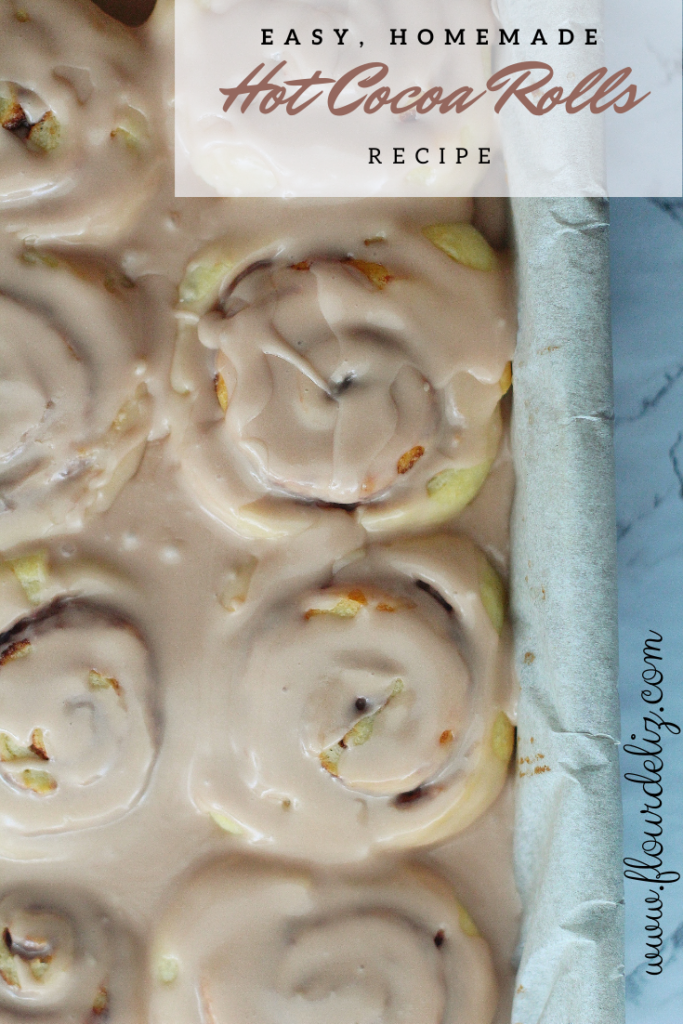
Once the rolls have proofed and the oven reaches 350 F, these will bake for about 20 minutes. While they're baking you can make the glaze (or in the case that you are reheating them later, you should wait until then to make the glaze). You'll prepare hot chocolate according to the directions on the package, but using milk or cream in place of water. Set aside ¼ cup to cool, and then enjoy the rest while your rolls are baking! Mix the cooled hot cocoa with powdered sugar and melted butter. This makes the perfect icing consistency that you can pour right on top of these warm hot cocoa rolls and dig in! No special occasion necessary - happy brunching!!

📖 Recipe

Hot Cocoa Rolls
Equipment
- stand mix with dough hook
- 9x13 baking dish
Ingredients
Rolls
- 1 cup milk
- ½ stick butter
- 1 package dry active yeast 2 ¼ teaspoons
- 1 tablespoon sugar
- ½ teaspoon kosher salt Diamond Crystal
- 2-2.5 cups flour
- 2 tablespoons butter melted, set aside
Filling
- ¼ cup hot cocoa powder
- ½ stick butter very softened, but not melted
Glaze
- 2 tablespoons butter melted
- 2 cups powdered sugar
- ¼ cup hot cocoa prepared and cooled
Instructions
Rolls
- Heat the milk, butter, till butter is melted and milk is hot but not boiling. Remove from heat, transfer to a heat-proof mixing bowl, and let cool till lukewarm.
- Once lukewarm (if too hot, the yeast won't activate) sprinkle the yeast onto the mixture. Let it foam for about 10 minutes. Then stir in sugar and salt.
- With the dough hook attached. With the mixer set on stir, slowly add in flour. Continue adding flour till a ball forms and flour is fully incorporated. You want the dough to be tacky but not sticky. You may not use all the flour, or you may need a little extra.
- Cover and let rise for about 1 hour. Your dough should double in size.
Filling
- While dough is rising, stir together all filling ingredients.
- When dough is ready, roll out into a large rectangle.
- Spread filling evenly across rectangle, leaving about an inch uncovered on one of the long sides of the rectangle.
- Starting on the opposite end from the uncovered dough, roll the dough into a log.
- Slice dough into 10-12 equal rolls.
- Line a 9x13 baking dish with parchment paper and place the rolls in the dish. Brush the rolls with the 2 tablespoons of melted butter.
- Preheat the oven to 350 F and let the rolls rise for 30 minutes - 1 hour on top of the preheating oven.
- Bake for 20-25 minutes.
- Cool slightly if eating immediately, cool completely if serving later.
Icing
- While rolls are cooling, whisk together all glaze ingredients.
- Pour over top of warm rolls and enjoy!
Nutrition
Nutrition information is automatically calculated so should only be used as an estimate. Accuracy is not guaranteed.


Comments
No Comments