menu icon
go to homepage
  • Recipes
  • About Liz
  • Christmas
  • Subscribe
  • Let's Work Together!
    • Email
    • Facebook
    • Instagram
    • Pinterest
    • Twitter
  • subscribe
    search icon
    Homepage link
    • Recipes
    • About Liz
    • Christmas
    • Subscribe
    • Let's Work Together!
    • Email
    • Facebook
    • Instagram
    • Pinterest
    • Twitter
  • ×
    Flour de Liz » Recipes » Cheesecake Recipes

    No-Bake Creme Brûlée Cheesecake

    Published: Jul 11, 2024 by Liz Pollio · This post may contain affiliate links · Leave a Comment

    • Facebook
    • Threads
    • Bluesky
    • SMS
    • Email
    Jump to Recipe Print Recipe
    A pin for Pinterest of a slice of creme brulee cheesecake angled on a round white plate.

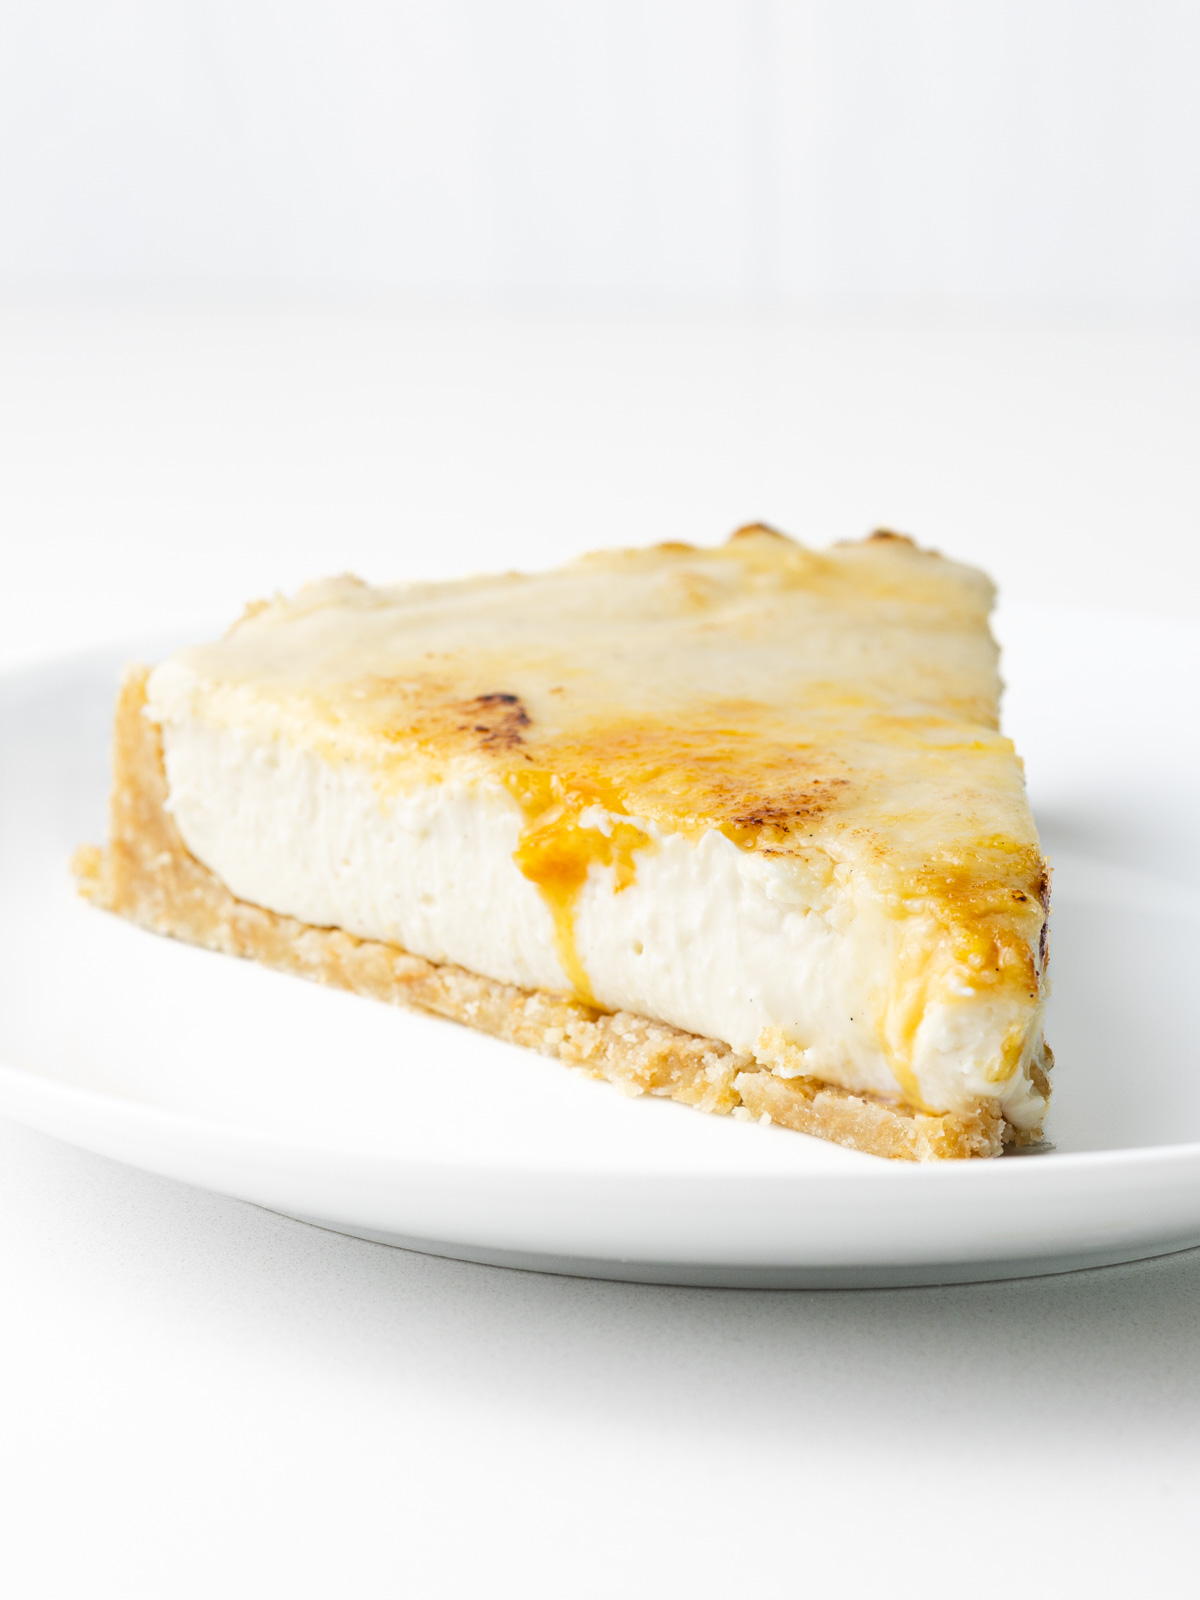
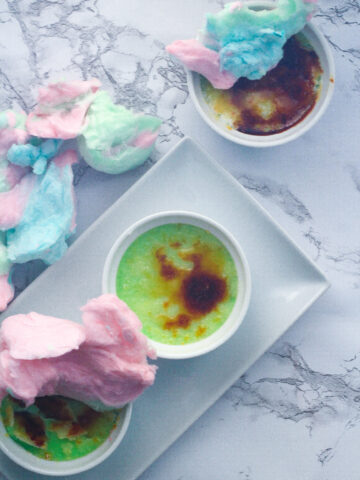
    I'm not sure there is anything more satisfying than breaking through the crackly glass top of a creme brûlée. But what if instead of finding vanilla custard underneath you find a delicious, tangy vanilla bean cheesecake? This easy no-bake Creme Brûlée Cheesecake is rich and creamy, and indulgent. Plus, it's super simple to make and of course has a perfectly caramelized topping.

    A slice of creme brulee cheesecake angled on a round white plate.

    This Creme Brûlée Cheesecake is perfect for everything from casual gatherings to elegant events, but it's sure to always impress! It's a tasty treat for a cookout or a wedding shower, and makes a great addition to your holiday spreads from Christmas dinner to Easter brunch and everything in between! If you love that crisp, crackly topping on a creme brûlée, you'll also love this Coffee Creme Brûlée and this Maple Creme Brûlée.

    Jump to:
    • Why this Recipe Works
    • Ingredients and Notes
    • Substitutions and Variations
    • How to Make this Recipe
    • Recipe FAQs
    • Tips & Tricks
    • Storage Tips
    • Related Recipes
    • 📖 Recipe
    • 💬 Comments

    Why this Recipe Works

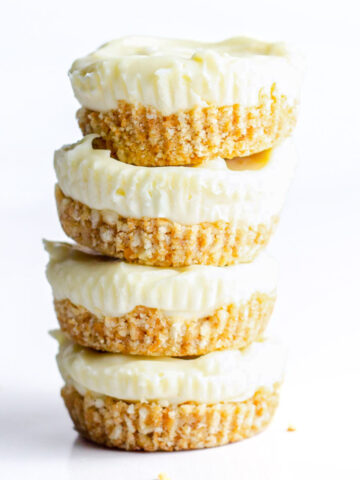
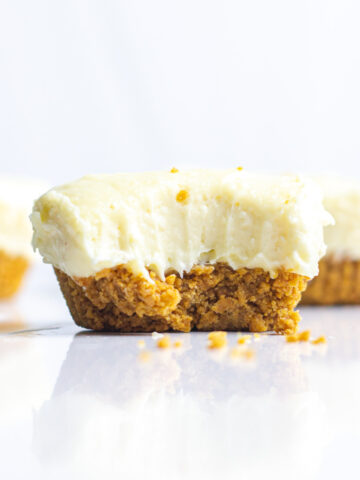
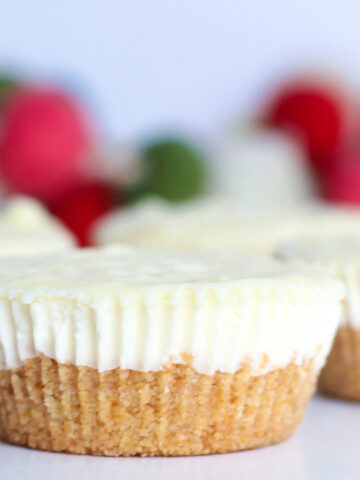
    This decadent cheesecake filling is very similar to the custard of a crème brûlée, making the sweet, crackly top a perfect complement to the tangy cheesecake. The variety of textures between the buttery crumb crust, the smooth and velvety cheesecake filling, and the crunchy caramelized sugar topping makes every bite the best bite ever!

    For a fun cheesecake twist, check out these Pumpkin Cheesecake Cookies!

    Ingredients and Notes

    Ingredients needed to make creme brûlée cheesecake.

    Vanilla Melts - Using vanilla melts gives vanilla flavor to the Creme Brulee Cheesecake, but it also gives stability to the filling.

    Heavy Cream - Be sure that you're using full-fat heavy cream and not light cream, half and half, or milk.

    Cream Cheese - Cream cheese adds both that perfect cheesecake tang as well as additional thickness and structure to the luscious cheesecake filling. Be sure that you're using blocks of cream cheese, not a tub of spreadable cream cheese, and also ensure that it's full-fat cream cheese.

    Substitutions and Variations

    Vanilla Wafer Crumbs - Any cookie crumb will work great here. Graham cracker crust is always a nice touch, or a gingersnap or Biscoff cookies for a bit of spice, or even Oreo crumbs for a tasty chocolate addition. Golden Oreos would also make a sweet, neutral option.

    Vanilla Paste - I know vanilla paste is not as much of a standard staple so instead you can use vanilla extract or a vanilla bean pod. Vanilla extract won't give you that same speckled vanilla bean look, but it will still provide a delicious vanilla flavor.

    Toppings - Make this no-bake Creme Brûlée Cheesecake even more amazing with toppings such as raspberries, strawberries, and blueberries, fresh whipped cream, or a chocolate sauce or caramel sauce.

    How to Make this Recipe

    A vanilla wafer crumb crust pressed into a springform pan.

    Step 1: Combine vanilla wafer crumbs and melted butter until the crumbs are fully moistened. Press into a springform pan, about an inch up the sides and covering the bottom of the pan. Place in the freezer while making the filling.

    Vanilla melts, cream, and vanilla paste in the bowl of a double boiler.

    Step 2: Combine vanilla melts, cream, and vanilla paste in a double boiler and heat over medium-low stirring frequently, until fully melted and smooth.

    Vanilla cheesecake filling in a clear glass mixing bowl with the pattern from the beaters showing in the mixture.

    Step 3: Remove from heat and let cool about 20 minutes. Add cream cheese and beat until smooth. Pour onto the frozen crust and chill for at least 2 hours (more is better). The cheesecake should be chilled thoroughly before torching and serving.

    A hand holding a kitchen torch over a creme brûlée cheesecake to caramelize the sugar on top.

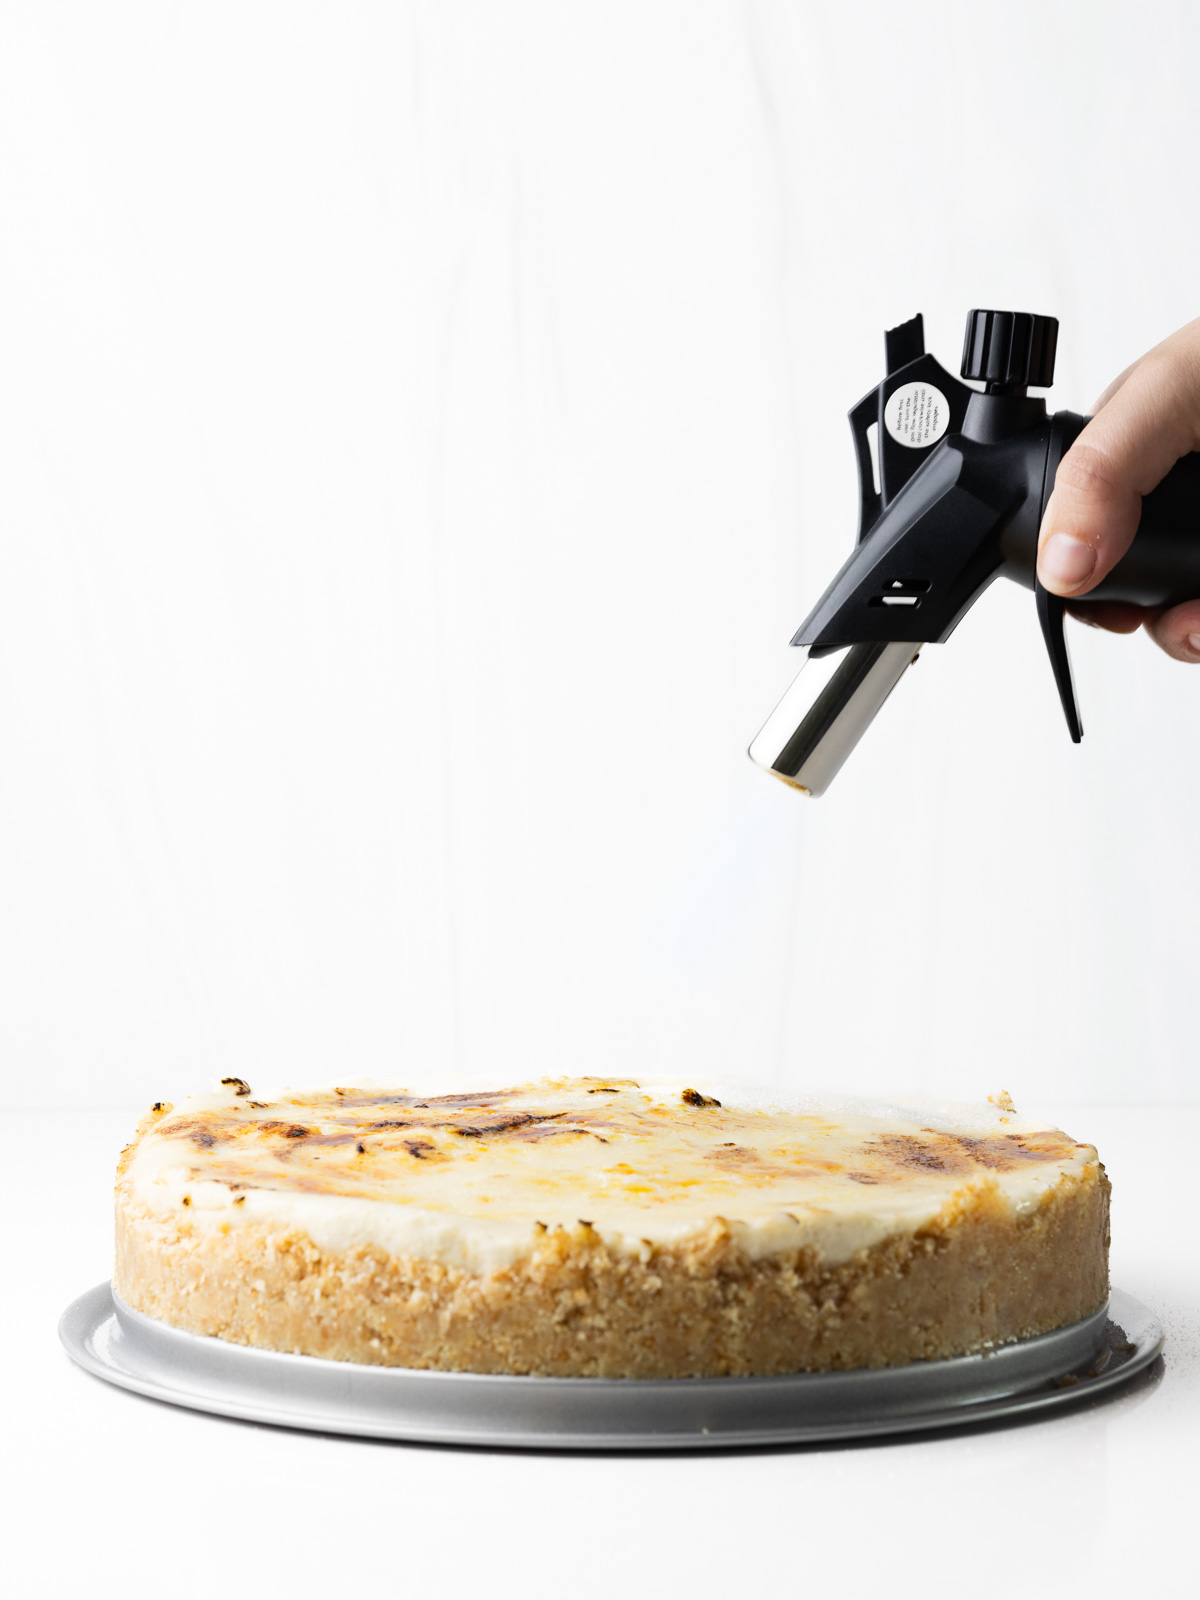
    Step 4: When ready to serve, carefully remove the outside of the springform pan and sprinkle sugar evenly on top of the chilled cheesecake. Torch with a kitchen torch until caramelized. Refrigerate for another 15-30 minutes, then crack, slice and serve!

    Recipe FAQs

    Can these be made as mini cheesecakes?

    Yes! It would be super easy to make these as minis! Line a cupcake pan with 12 paper liners, divide the crumbs for the crust evenly between the 12 cups, and press into the bottom of each cup. Follow the same directions, dividing the filling evenly, pouring it on top the crusts. Remove the paper liners before torching the sugar topping and only top the ones you're ready to serve. Press plastic wrap onto the top of any extras to store until ready to top and serve.

    Can you eat a no-bake cheesecake straight away?

    No! Even though it doesn't need to bake, it does need to chill. You want the silky cheesecake filling nice and cold before you brûlée the top, and then I like to re-chill it after torching the sugar because the top of the cheesecake might soften slightly from the heat of the torch.

    Do you put white or brown sugar on top of creme brûlée cheesecake?

    You'll want to use white granulated sugar to get that perfect crispy delicate top that cracks when you cut in!

    A close up of the top of a creme brûlée cheesecake with a caramelized sugar topping and the cheesecake going out of frame to the left.

    Tips & Tricks

    Tip #1: When pressing the crumb crust into the springform pan, press the crumbs up the sides of the pan before pressing them into the bottom of the pan. This ensures you have enough for the sides as you're more likely to make the bottom too thick and not leave enough for the sides if you do it first. Many springform pans are deep, but this Creme Brûlée Cheesecake only needs the crust to go about an inch up the side of the pan.

    Tip #2: To double boil, place a heat-proof bowl on top of a sauce pan that has a small amount of water in it. Ideally the bowl should not be touching the water in the pot.

    Tip #3: Ensure that the cream cheese is at room temperature to ensure it fully incorporates into cheesecake filling. Even if the cream cheese doesn't mix in cohesively, it will still taste delicious!

    Tip #4: Using a springform pan makes it easy to remove the Creme Brûlée Cheesecake from the pan. When removing the sides of the springform pan, loosen the edges of the crust first to keep your crust from coming off with the pan and release the pan slowly. A butter knife works great to help loosen the crumb crust from the sides of the pan.

    Tip #5: When torching the sugar topping, be sure to keep the torch moving. Keeping the torch in one spot for too long might burn the sugar more than is intended! The goal is a toasty shell!

    Tip #6: Once the burnt sugar topping is added, it will not keep its glass-like texture for more than a couple hours so it's important to not add the topping until you're ready to serve. If you won't be serving the entirety of the cake, I would strongly suggest only topping the slices that you'll be serving.

    Storage Tips

    • Creme Brûlée Cheesecake without the caramelized topping will store in the refrigerator for 2-3 days with plastic wrap pressed directly onto the top of the cheesecake.
    • One the sugar has been torched, the cheesecake should be served immediately. It will not keep.

    Related Recipes

    • a spoonful of perfect homemade red wine chocolate creme brulee.
      Perfect Homemade Red Wine Chocolate Creme Brulee
    • A rose gold spoon breaking through the caramelized sugar topping of a coffee creme brûlée in a white ramekin surrounded by coffee beans with more creme brûlées in the background.
      Coffee Crème Brûlée
    • close up view of a maple creme brulee with a spoon cracking through the top. the white ramekin filled with maple creme brulee is on a wooden surface and next to a red and white napkin.
      Maple Creme Brulee
    • Top down view of two cotton candy creme brulees in the bottom left corner of the photo on a rectangular white plate, one of which has pink cotton candy of top of it. above the plate along the left hand side of the image is blue and pink cotton candy. In the upper right corner is another cotton candy creme brulee with pink and blue cotton candy on top of it. All on top of a white marbled surface.
      Cotton Candy Creme Brulee

    Did you try this recipe?  Leave a review below, and tag @flourdeliz on Instagram!

    📖 Recipe

    A slice of creme brulee cheesecake angled on a round white plate.

    Creme Brûlée Cheesecake

    Liz Pollio
    A creamy and tangy cheesecake filling in a vanilla wafer crust and topped with a caramelized sugar topping.
    5 from 1 vote
    Print Recipe Pin Recipe
    Prep Time 20 minutes mins
    Chill Time 2 hours hrs
    Total Time 2 hours hrs 20 minutes mins
    Course Dessert
    Cuisine American
    Servings 10 slices
    Calories 332 kcal

    Equipment

    • 9" springform pan
    • double boiler
    • kitchen torch

    Ingredients


    • 2 cups vanilla wafer crumbs about 60 cookies
    • 1 stick butter melted
    • 10 oz vanilla melts about 1 ¾ cups
    • 1 cup heavy cream
    • 1 tablespoon vanilla paste see notes
    • 2 8 oz block of cream cheese

    Instructions
     

    • Combine vanilla wafer crumbs and melted butter until the crumbs are fully moistened.
    • Press the crumbs into the bottom of the pan and halfway up the sides.
    • Place the crust in the freezer while making the filling.
    • Put the vanilla melts, cream, and vanilla paste in the bowl of a double boiler and heat over medium-low, stirring frequently until melted and smooth.
    • Remove from heat and let cool about 20 minutes.
    • Add the cream cheese and beat until smooth.
    • Pour the mixture into the frozen crust and refrigerate for at least 2 hours, longer is better.
    • When ready to serve, sprinkle the sugar overtop of the cheesecake filling and heat with torch until caramelized.
    • Place back in the refrigerator for 15-20 minutes, then slice and serve.

    Notes

    Any cookie crumbs will work for the crust so use whatever cookies excite you!
    Vanilla extract can be used in place of the paste.
    Ensure that the cream cheese is room temperature or it will not disperse evenly in the cheesecake filling. It will still taste great regardless, but it will look smoother if the cream cheese isn't cold when it's mixed in.
    Loosen the edges of the cake with a butter knife before releasing the springform pan.
    This cheesecake will not keep once the caramelized sugar topping is added so it's important to wait to top it until you're ready to serve.
     

    Nutrition

    Calories: 332kcalCarbohydrates: 25gProtein: 2gFat: 25gSaturated Fat: 16gPolyunsaturated Fat: 2gMonounsaturated Fat: 5gTrans Fat: 0.4gCholesterol: 51mgSodium: 182mgPotassium: 44mgFiber: 0.3gSugar: 16gVitamin A: 632IUVitamin C: 0.1mgCalcium: 19mgIron: 0.03mg

    Nutrition information is automatically calculated so should only be used as an estimate. Accuracy is not guaranteed.

    Tried this recipe?Let us know how it was!

    More Creamy Cheesecake Recipes

    • A side view of a stack of four prosecco cheesecakes.
      No-Bake Prosecco Cheesecakes
    • A bite taken out of a mini eggnog cheesecake with a couple mini cheesecakes blurred in the background.
      Mini No-Bake Bourbon Eggnog Cheesecakes with Gingersnap Crust
    • mini milk punch mardi gras cheesecakes with vanilla wafer crust and colorful party decor behind them.
      Mini Milk Punch Mardi Gras Cheesecakes
    • Close up top down view of avocado cheesecakes on a wooden cutting board
      Avocado Cheesecake
    • Facebook
    • Threads
    • Bluesky
    • SMS
    • Email

    Comments

    No Comments

    5 from 1 vote (1 rating without comment)

    Did you make this recipe? Let me know what you think! Cancel reply

    Your email address will not be published. Required fields are marked *

    Recipe Rating


    This site uses Akismet to reduce spam. Learn how your comment data is processed.

    Here you'll find a fun and welcoming baking space without any judgement. Whether you're new to baking, or have just a few minutes or a tiny kitchen, these recipes are designed to be simple and approachable!

    Liz wearing a pink apron leaning on a counter with her chin on her palm.

    Hi, I'm Liz!

    I started creating my own recipes when I realized that baking blogs usually shared complicated and time-consuming recipes that needed a lot of kitchen equipment and a lot of ingredients. When my grandma mentioned that I should write a cookbook, that inspired me to turn my super simple recipes into a blog. As much as I love to make these super simple recipes for my friends and family, I also love being able to share them with you!

    Learn more about me!

    Easy Christmas Dessert Recipes!

    • A batch of red velvet cookies on a gold wire rack.
      Red Velvet Cake Mix Cookies
    • A chocolate orange cupcake in a paper liner with others blurred and going out of frame in the background and a spiral of orange peel coming out of the frosting.
      Chocolate Orange Cupcakes
    • A white plate of chocolate peppermint cookies with a red linen in the background and crust peppermint surrounding the scene.
      Fudgy Chocolate Peppermint Cookies
    • A close-up top down view of a peppermint mocha brownie on its side showing the middle peppermint bark layer surrounded by the rest of the batch of brownies.
      The Fudgiest Peppermint Mocha Brownies
    • A slice of hot chocolate pie on a pie server above half a hot chocolate pie.
      Hot Chocolate Pie
    • A close-up side view of a peanut butter marshmallow square with more bars surrounding it.
      Peanut Butter Marshmallow Squares

    See more Christmas Recipes →

    Trending Recipes

    • The bottom left corner of a 9x13 baking dish of peach cobbler with a serving spoon with a green handle sticking out of the dish.
      Peach Cobbler with Cake Mix
    • Close up of two oat flour macarons stacked with another on its side next to the stack.
      Nut-Free Macarons Using Oat Flour
    • angled view of cookie cake with alternating brown and white frosting dots around the outside, and one slice pulled out part-way and angled. Multi-colored sprinkles are on the cookie as well as the marbled surface the cookie is on.
      Chocolate Chip Cookie Cake
    • A sliced batch of red velvet brownies with the center brownie sideways to show the inside.
      Simple 3 Ingredient Red Velvet Brownies using Cake Mix
    • A bowl of Nutella Whipped Cream in a small white bowl on a brown cutting board.
      Two Ingredient Nutella Whipped Cream
    • A hand holding a slice of sweet potato pie on a pie server over the rest of the pie.
      Sweet Potato Pie with Graham Cracker Crust

    Footer

    ↑ back to top

    About

    • About Liz
    • Privacy Policy
    • Terms of Use
    • Accessibility Policy

    Newsletter

    • Subscribe to my monthly newsletter

    Let's Connect!

    • Work with me
    • Contact me

    Copyright © 2016-2025 Flour de Liz, LLC

    Rate This Recipe

    Your vote:


    A rating is required
    A name is required
    An email is required

    Recipe Ratings without Comment

    Something went wrong. Please try again.